Hi everyone,
The new website is up! The new site also has its own blog, and all future posts will be made there. All of the posts and pictures from this blog have been transferred to the new blog. At some point, I will set this to auto-redirect to the new blog. There are still some pages that need to go up on the site, and my goal is to get those up over the next two weeks.
http://cycling.zanconato.com
http://cycling.zanconato.com/blog/
As always, thank you for the support!
Mike
Thursday, December 18, 2014
Tuesday, June 11, 2013
Some announcements
Hi everyone,
A couple of quick announcements. I'm back to work after being out with mama, David, and Luke. Moving forward, I'll be in the shop Mon-Thur 7:30- 4:00. Friday will be an office day. I'm working on plowing through my email and PMs now. Over the next few days, I'll be in touch with everyone on the list as well with some updates.
In about two weeks, you'll see an overhaul of zanconato.com. Yes, the dinosaur website is being put out to pasture.
Thanks again for all of the well wishes with Luke! And thank you for being the best customers, supporters, and pals on the planet.
Mike
Thursday, March 28, 2013
Hey, how've ya been?
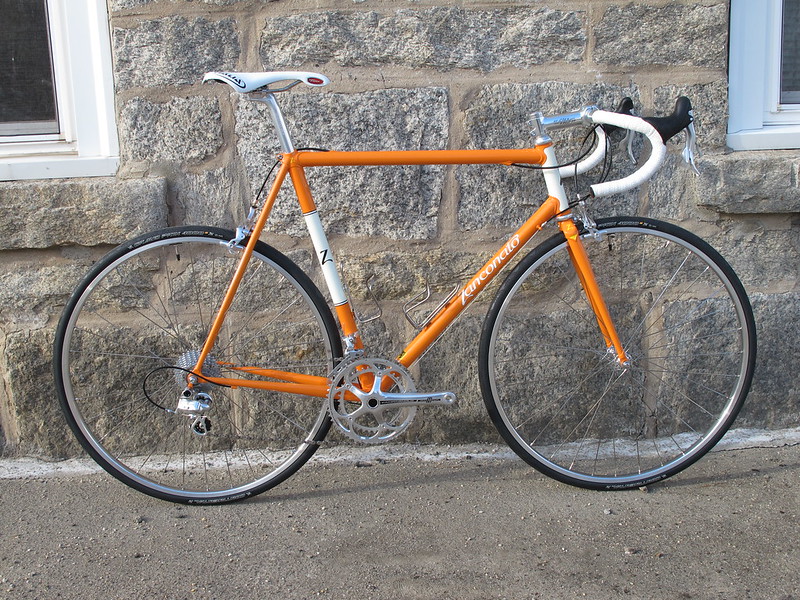
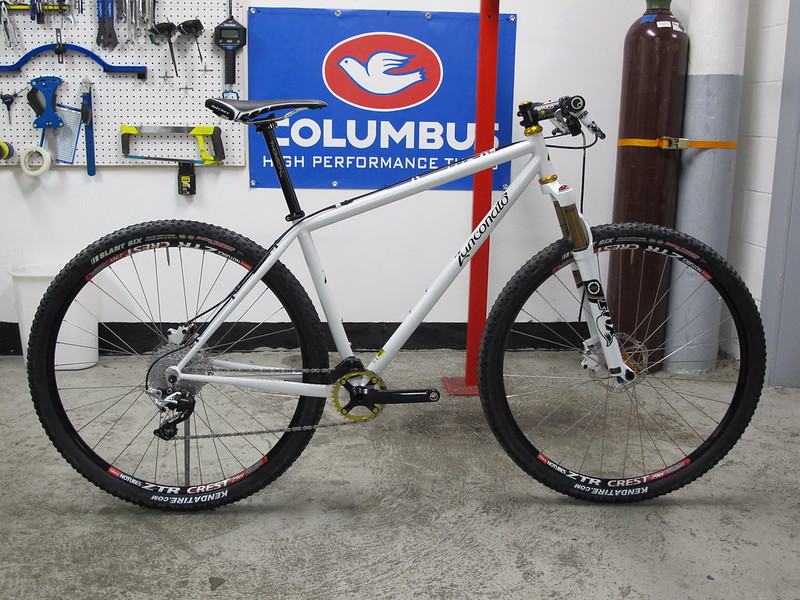
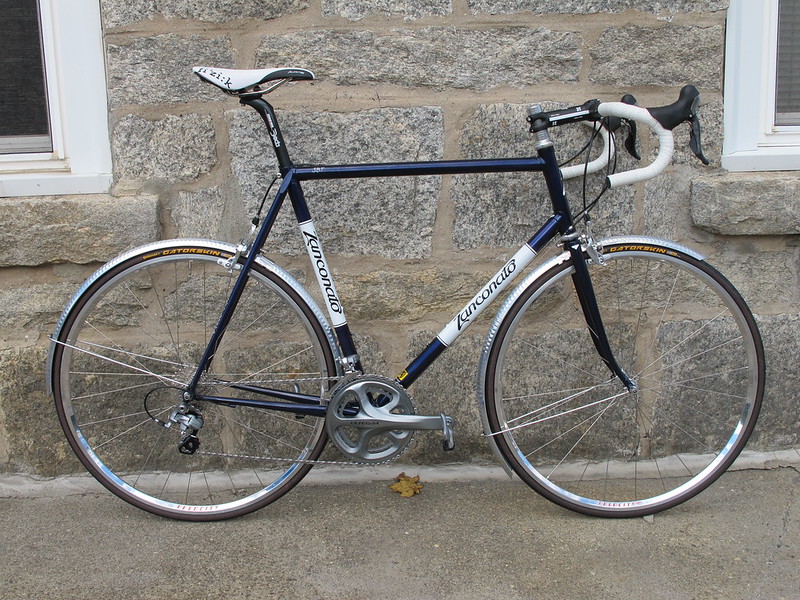
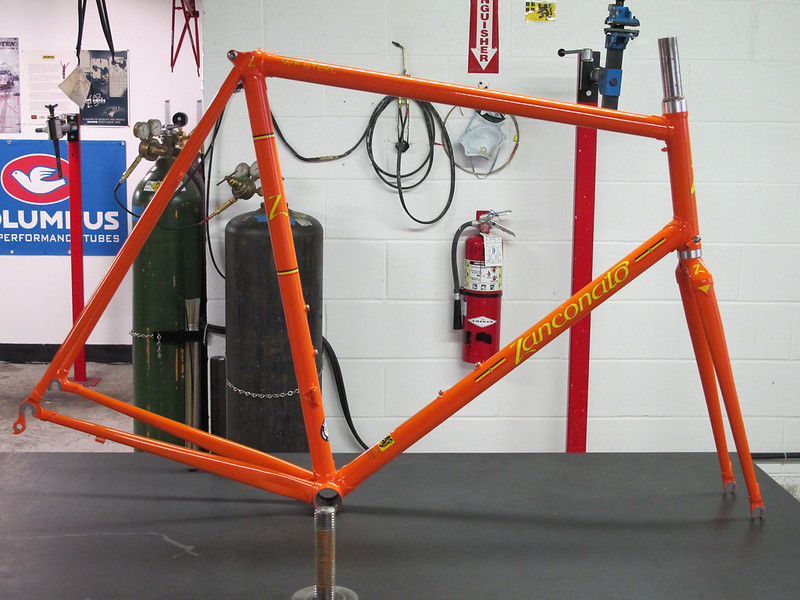
Well that was a crazy year. I didn't blog. Lots happened. Too much to write about. But I didn't want to go a full year without a blog post. So I'll sum up the past 362 days with some pictures.


OK, I'll post regularly from now on.
OK, I'll post regularly from now on.
Sunday, April 01, 2012
Occupational palate cleansing
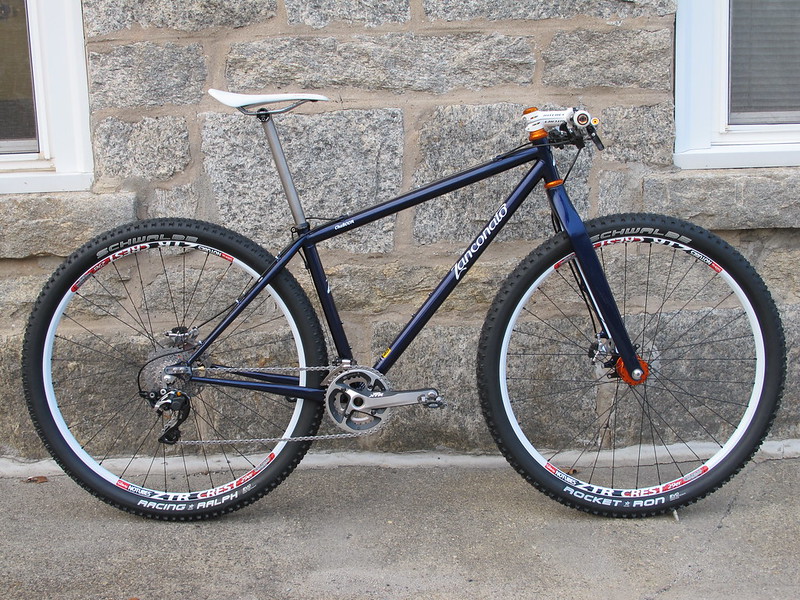
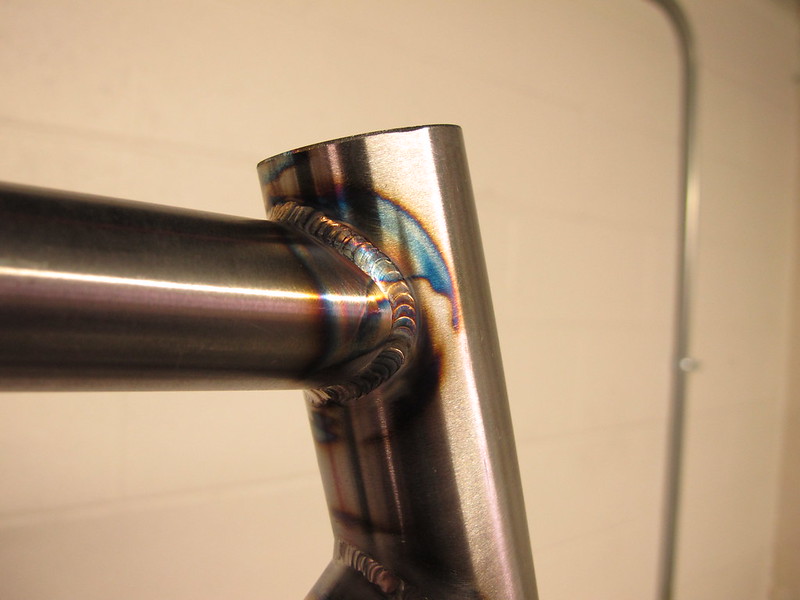
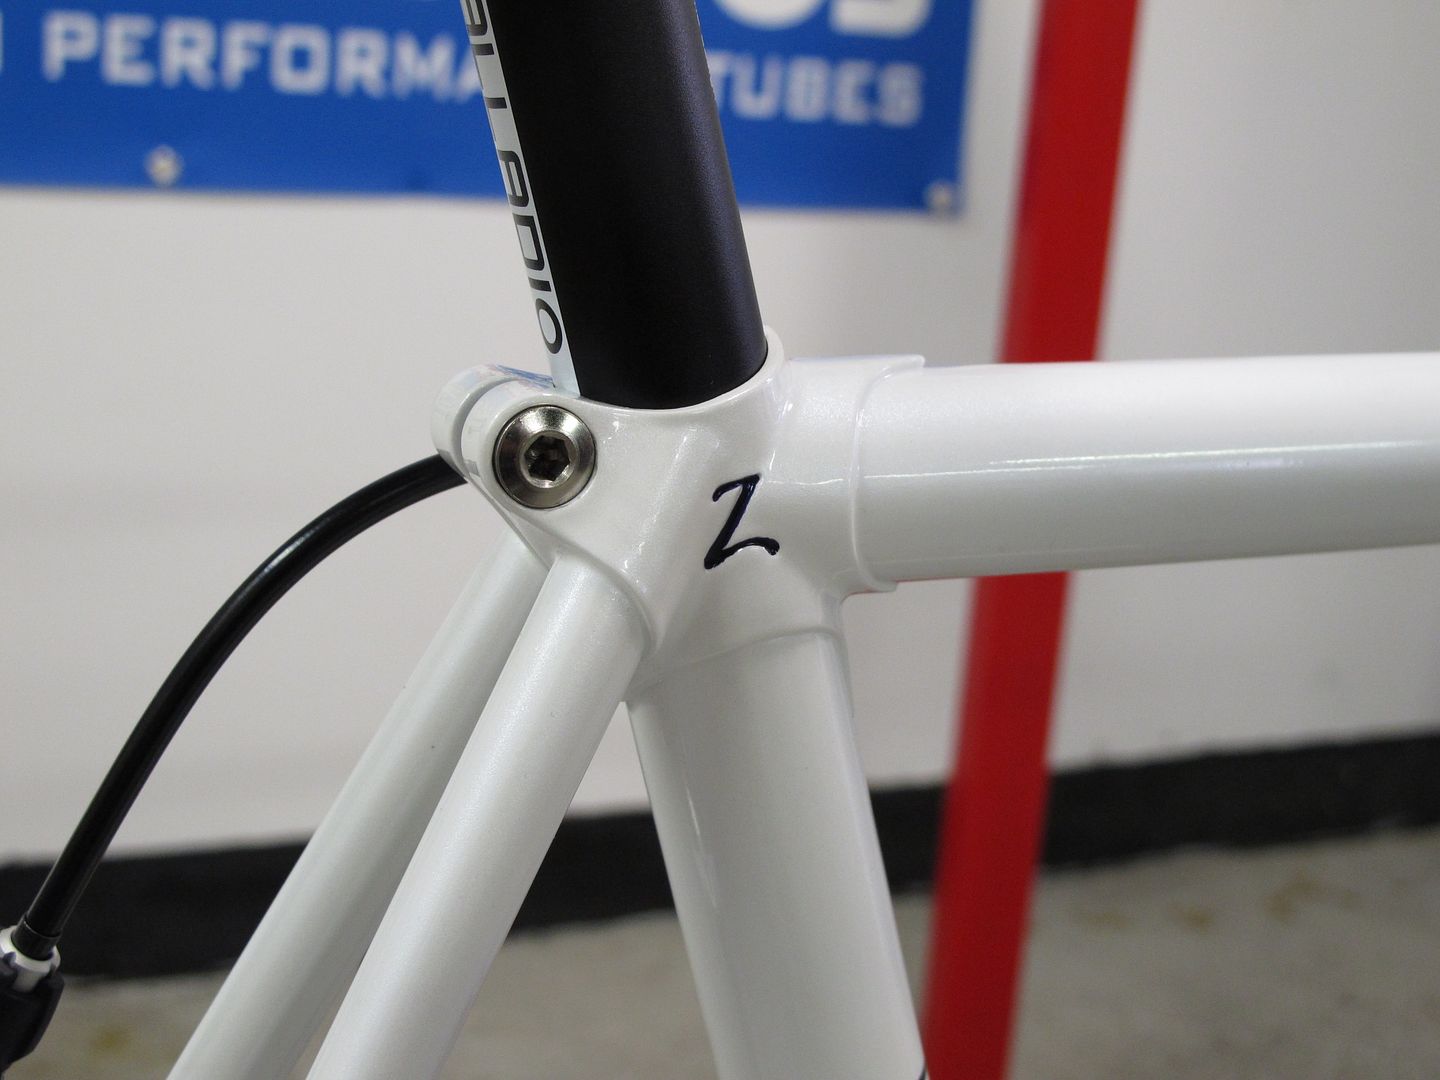
I like to call it "occupational palate cleansing". It's not that I get bored with brazing. Not even remotely. The satisfaction that comes with getting that material to flow just the way I'd like it to is wonderful. But there are periods of time when I need to step away, even just for a day or two, to renew my senses. This usually comes after a set of difficult bikes, such as the Max bikes or other bikes that require a lot of tedious fit-up work, grinding, shaping, and torch time. There are evenings when I'm working on those bikes that I feel further away from the finish line than when I walked in that morning. When the bike is in the box and off to paint, I feel euphoric and drained at the same time. I don't consider myself an artist by any means, but those are the times I can relate to artist's block. That search for inspiration for the next project is forefront in my mind. I've learned it's often best not to force things and just step away. I've had a couple of instances this past year when forcing things has led to scrap. Pretty, shiny, expensive scrap. It's a lousy situation for everybody involved.
About a year ago, I finally embarked on my journey of learning how to weld. It was something I'd wanted to do for years. There are so many incredible weldors in the cycling business. They lay down some of the sweetest beads in all of the welding world, and those beads hold together some of the sweetest race bikes on the planet. So I feel lucky to be able to pick up a torch myself and spend some time under the hood. It's my therapy. There's just something about it that is calming. It renews my senses. It cleanses my palate and gets me ready for the work ahead. And it really motivates me to keep getting more hood time and start getting more welded bikes out into the wild. After all, as my good pal Matt always reminds me, I'm not a brazer or a weldor; I'm a bike maker.
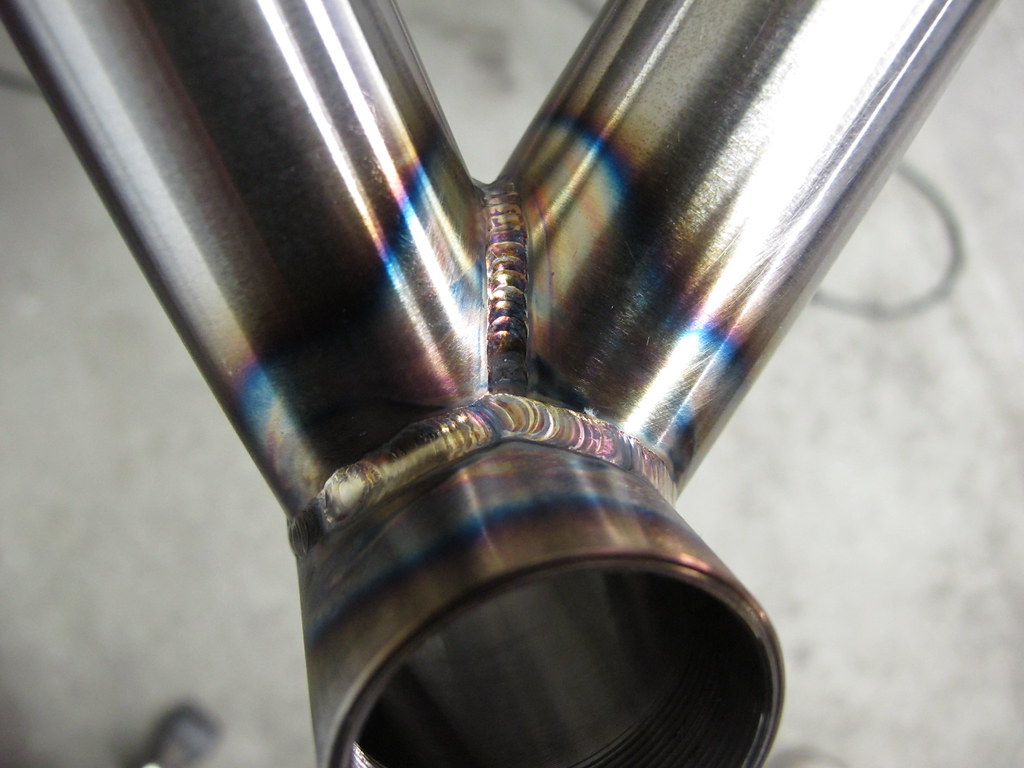
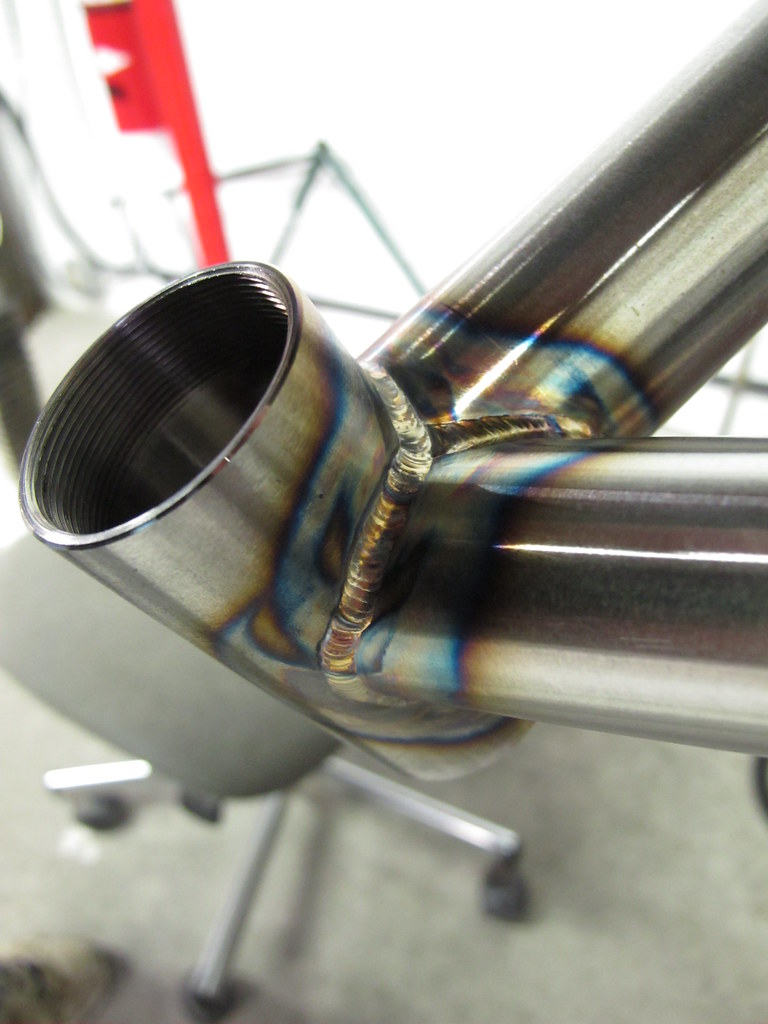
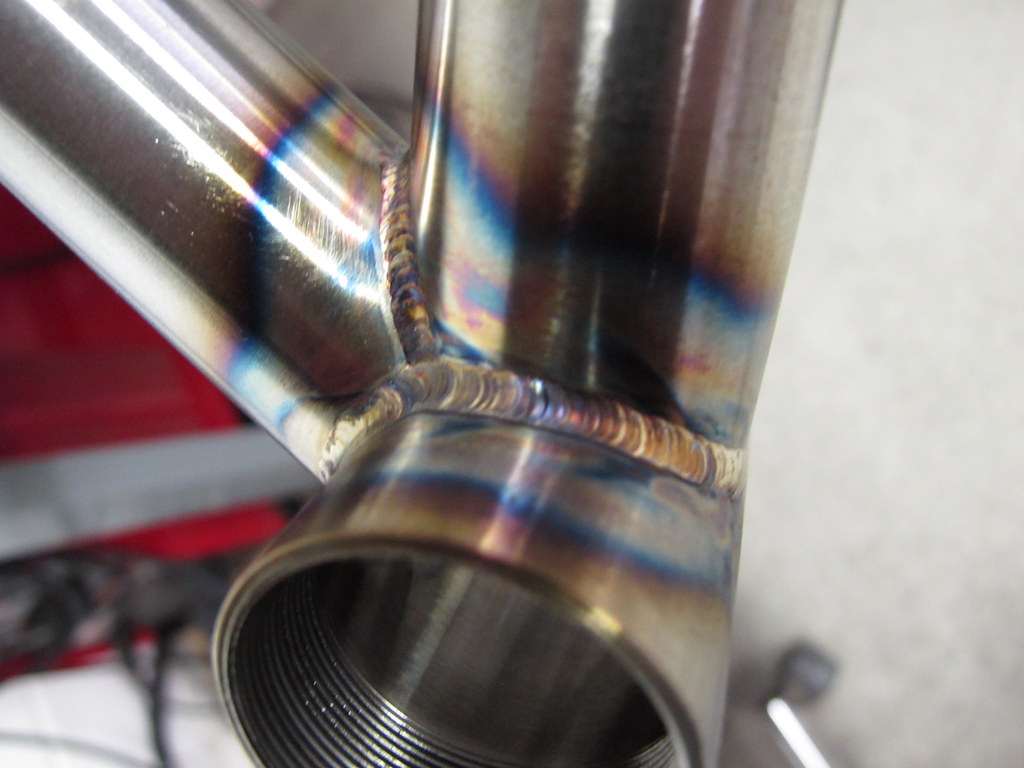
About a year ago, I finally embarked on my journey of learning how to weld. It was something I'd wanted to do for years. There are so many incredible weldors in the cycling business. They lay down some of the sweetest beads in all of the welding world, and those beads hold together some of the sweetest race bikes on the planet. So I feel lucky to be able to pick up a torch myself and spend some time under the hood. It's my therapy. There's just something about it that is calming. It renews my senses. It cleanses my palate and gets me ready for the work ahead. And it really motivates me to keep getting more hood time and start getting more welded bikes out into the wild. After all, as my good pal Matt always reminds me, I'm not a brazer or a weldor; I'm a bike maker.
Thursday, January 26, 2012
Back in the swing of things
Well, there has been a big life change since my last post. We had a baby boy in November! It has been an absolute joy getting to know this little fella. I haven't been online a whole lot because I've been trying to make the most of my time at the shop and get some bikes done. It broke my heart leaving the little guy at home a couple of weeks after he arrived to get back to work, but c'est la vi. Sleep deprivation be damned, it's time to make bikes.
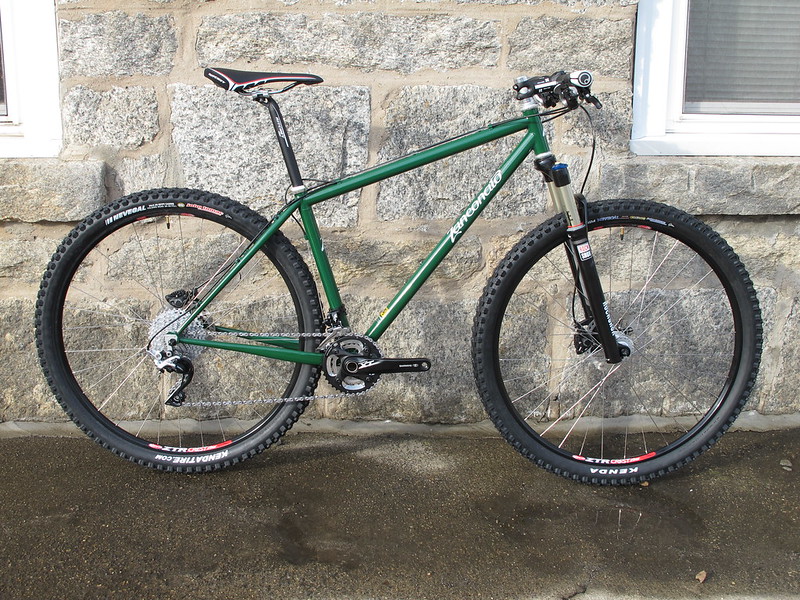
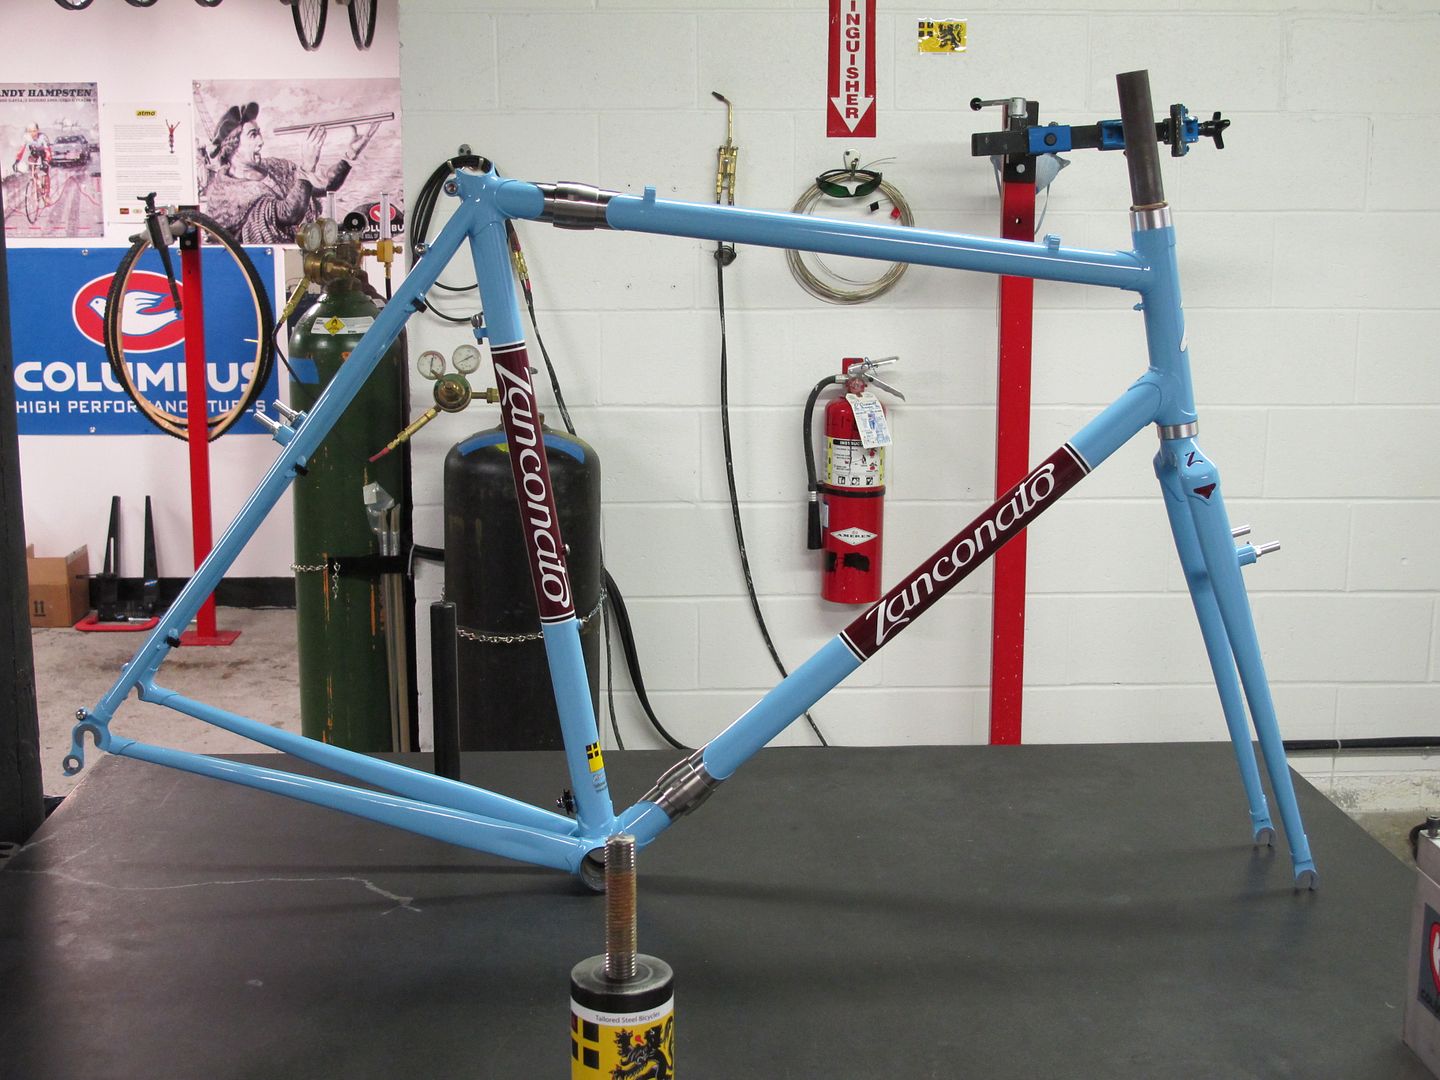
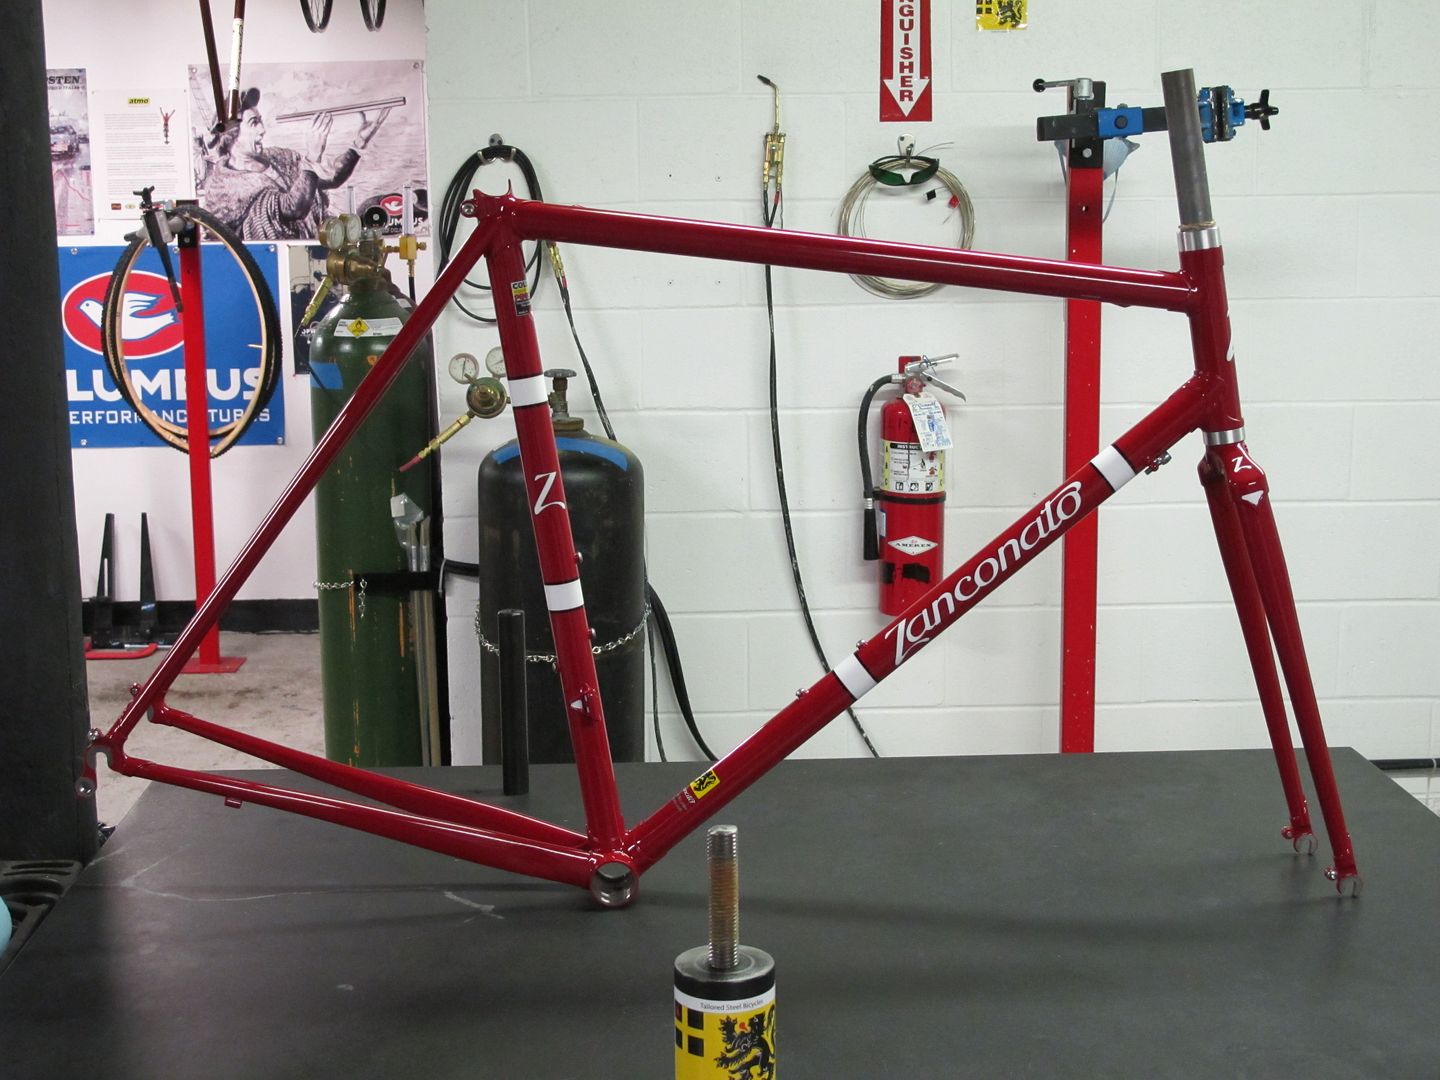
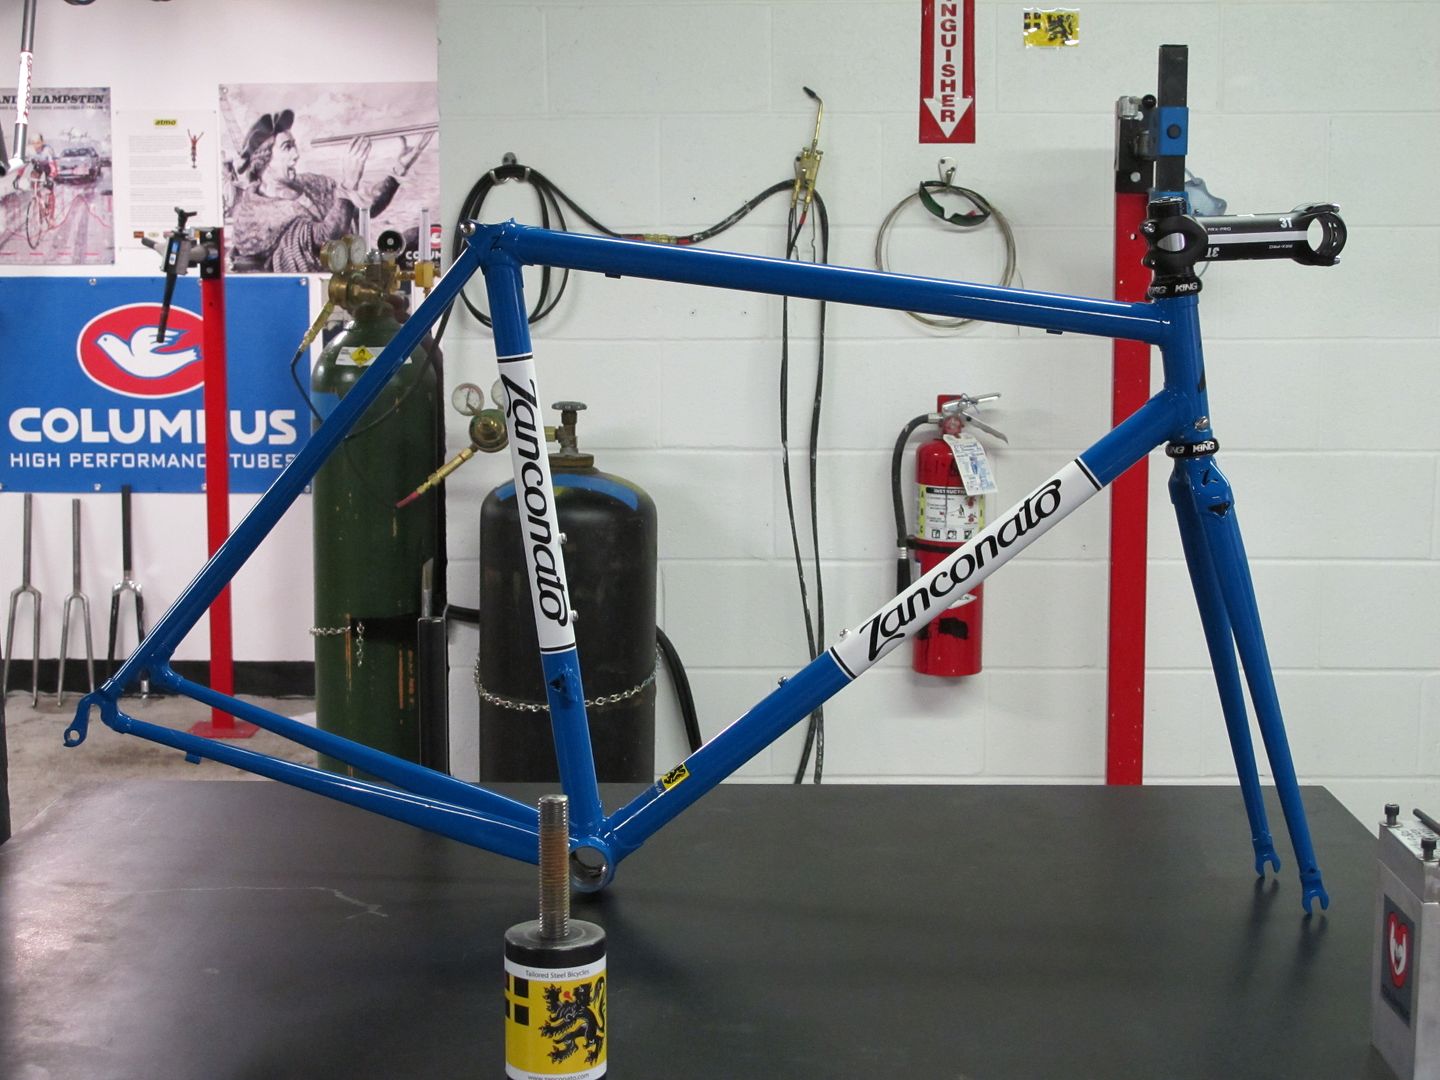
Here's a quick photo recap of some recent projects.

I'll be doing my best to update the blog more often. I'm in full-on Max and Sax Max mode right now.
Thanks for the visit!
Mike
Here's a quick photo recap of some recent projects.
I'll be doing my best to update the blog more often. I'm in full-on Max and Sax Max mode right now.
Thanks for the visit!
Mike
Monday, October 10, 2011
Recent bikes, chainrings, and tires
Hi everyone,
It's been awhile. I've had my head down and building a ton of stuff. I've also started getting chainrings in house. I am getting everything sorted and shipped as quickly as I can. I am packing a big bunch today that will be going out tomorrow. I am expecting a second big run to arrive Wednesday from the vendor. The ones I'll be shipping this week at 110 and 130 bcd. He sent the Campy rings to the anodizer and we are hoping to get the back very soon. Thank you all for your patience. We had some kinks in this first run, but it's getting smoother now. Also, the FMB Super Muds are starting to trickle in too. Francois had some delays in the tread delivery on his end. I'll ship those as soon as I get them.
Here are a few bikes that recently arrived from paint.
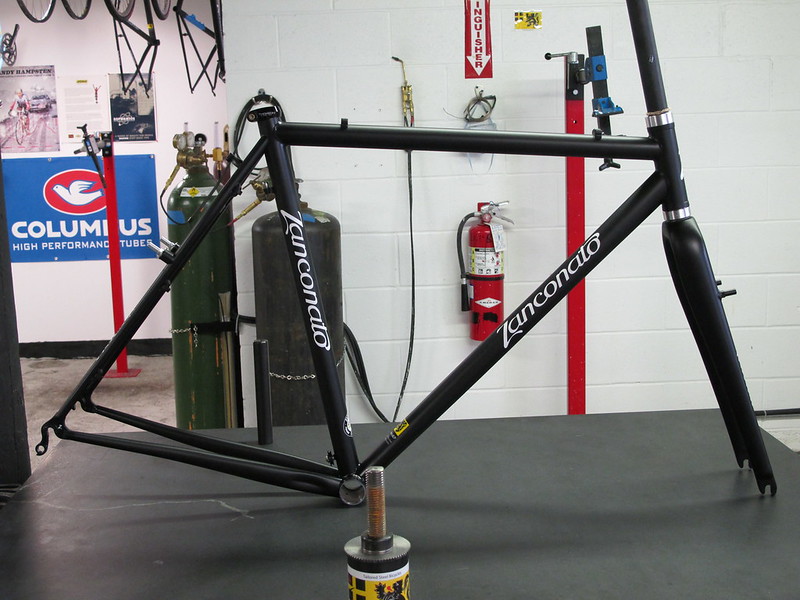
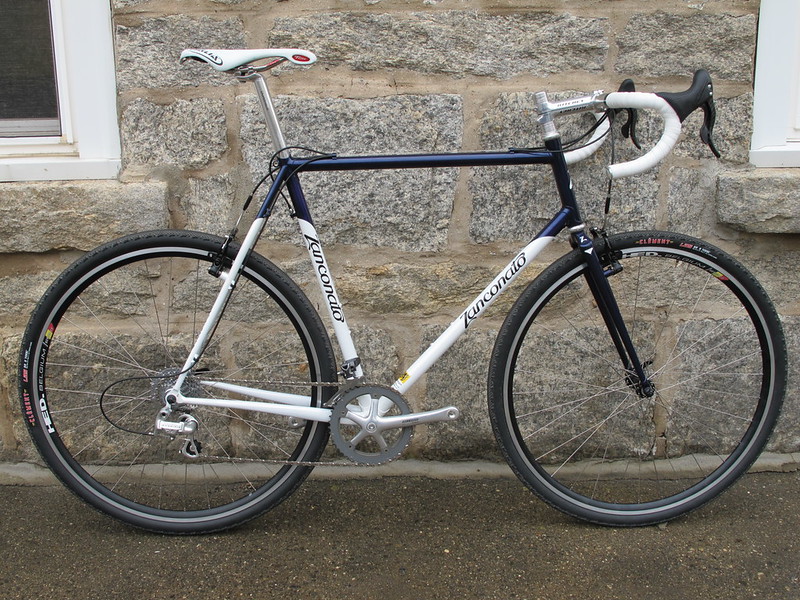
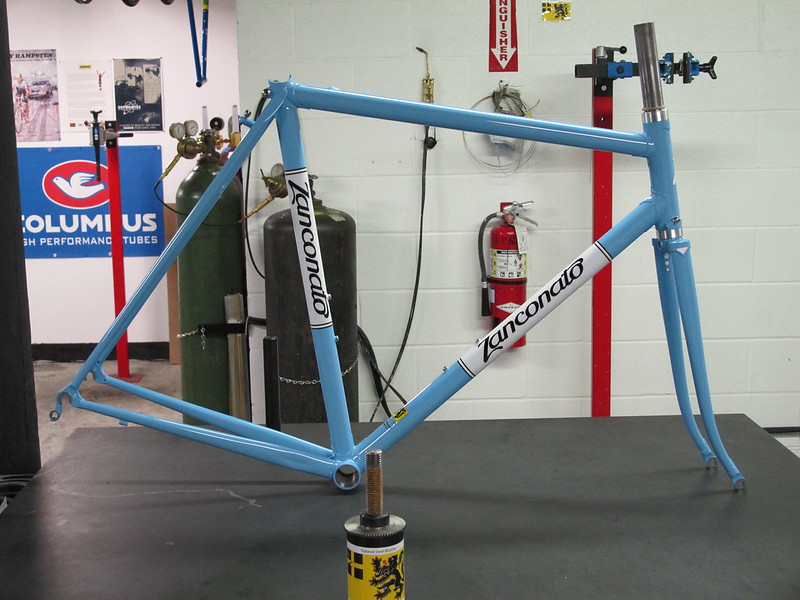
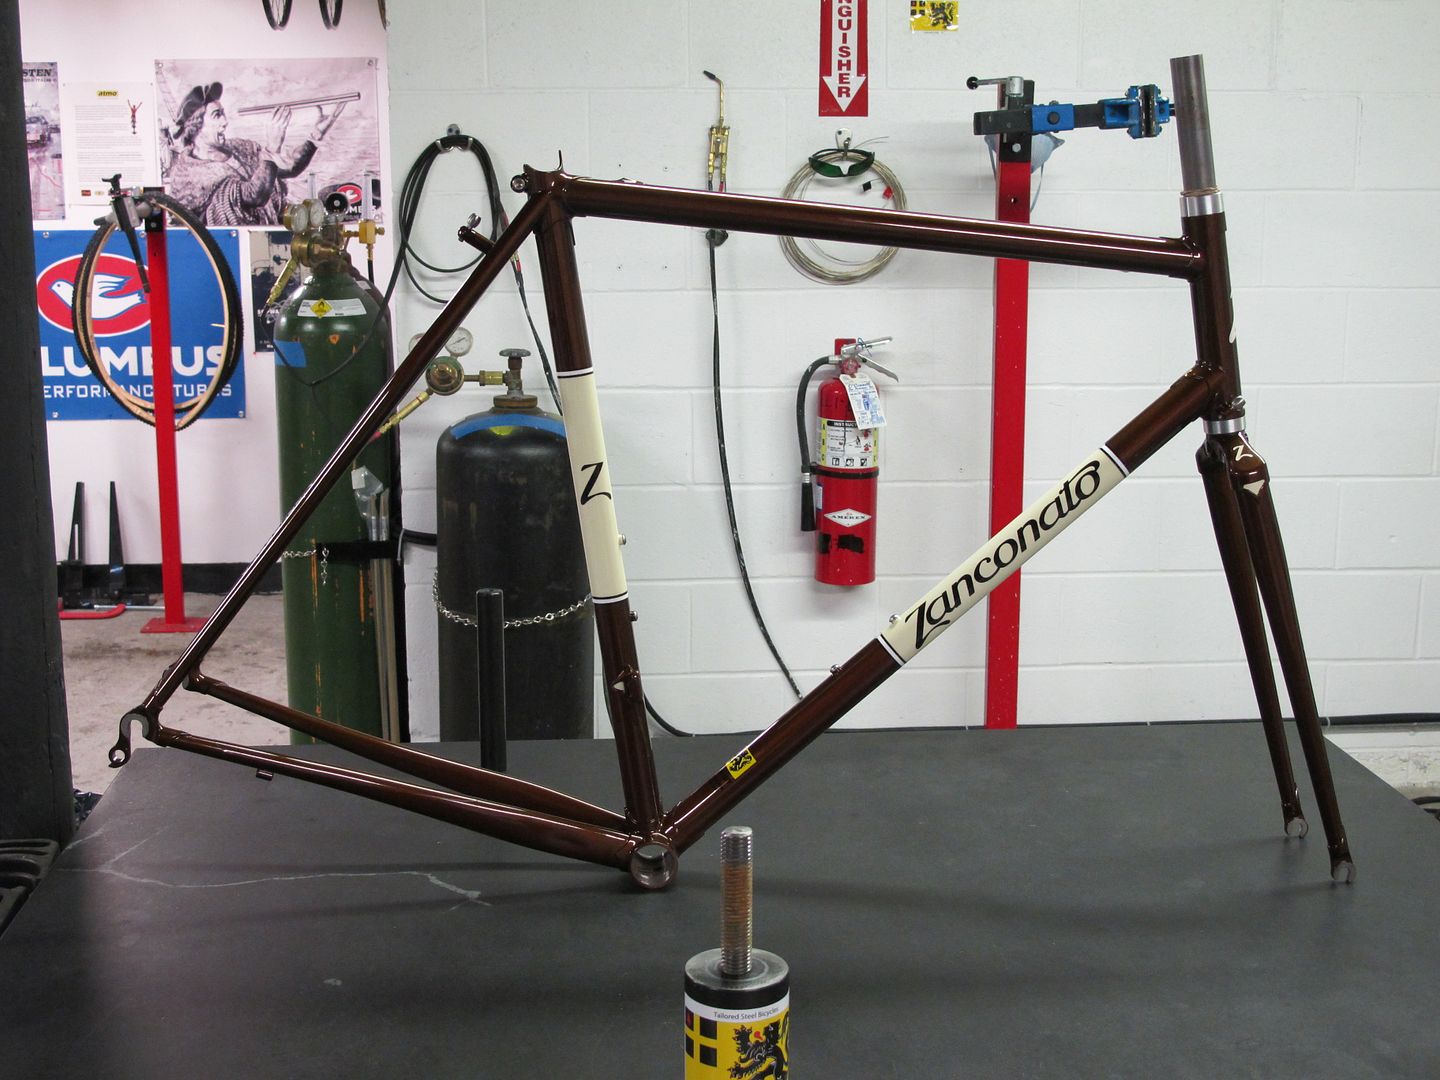
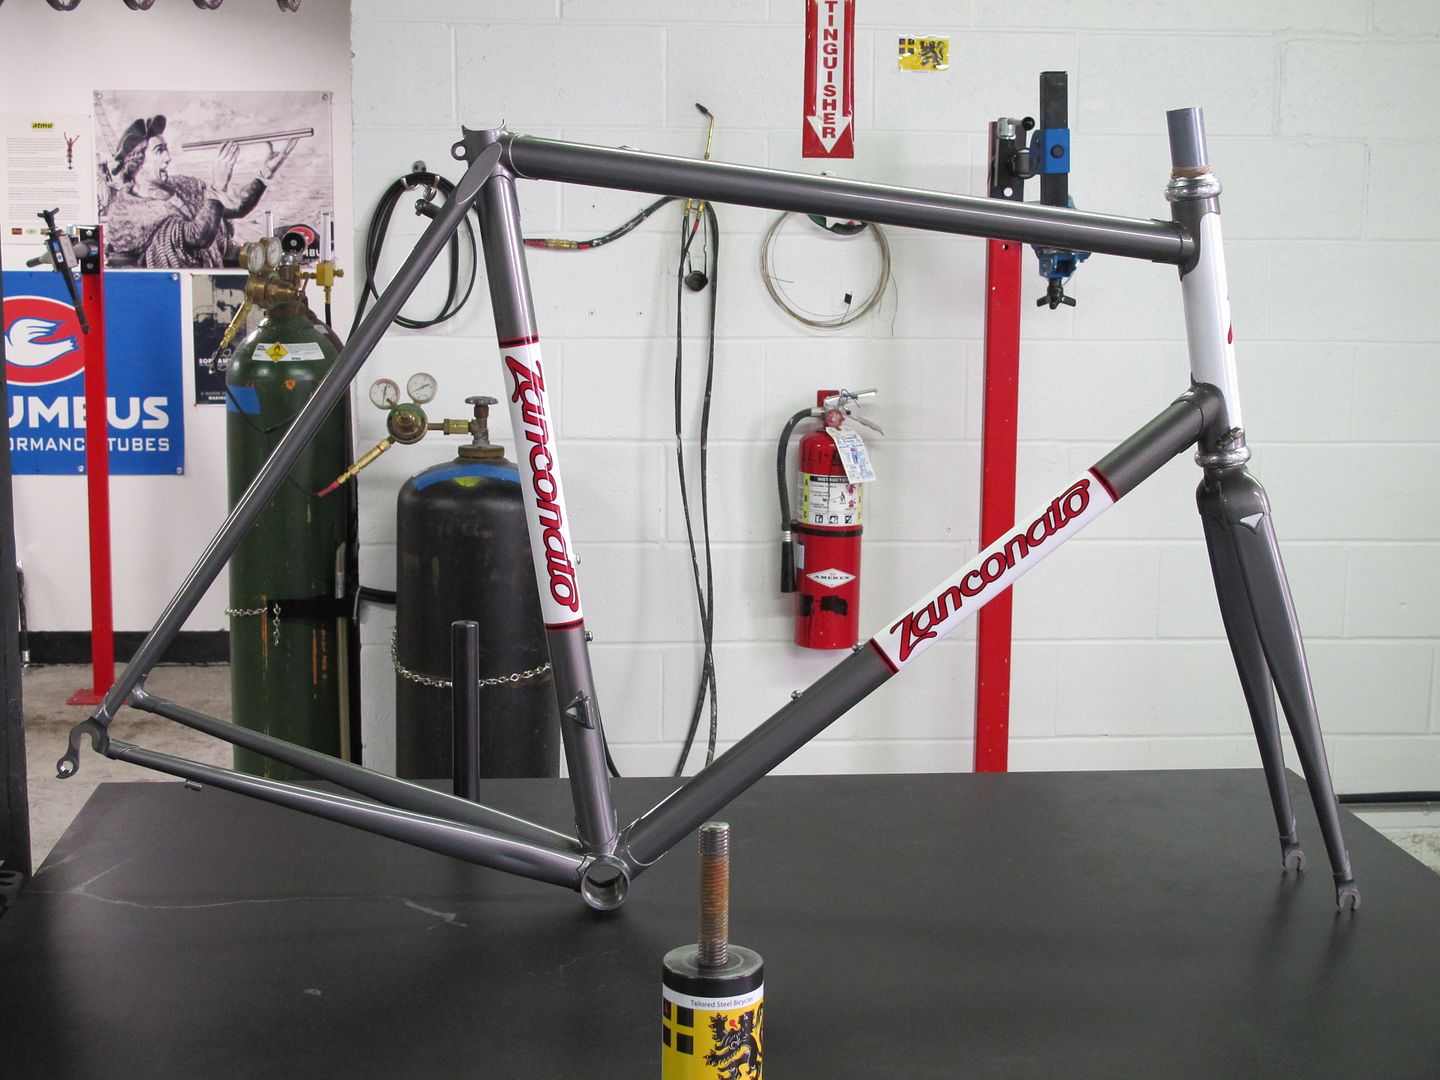
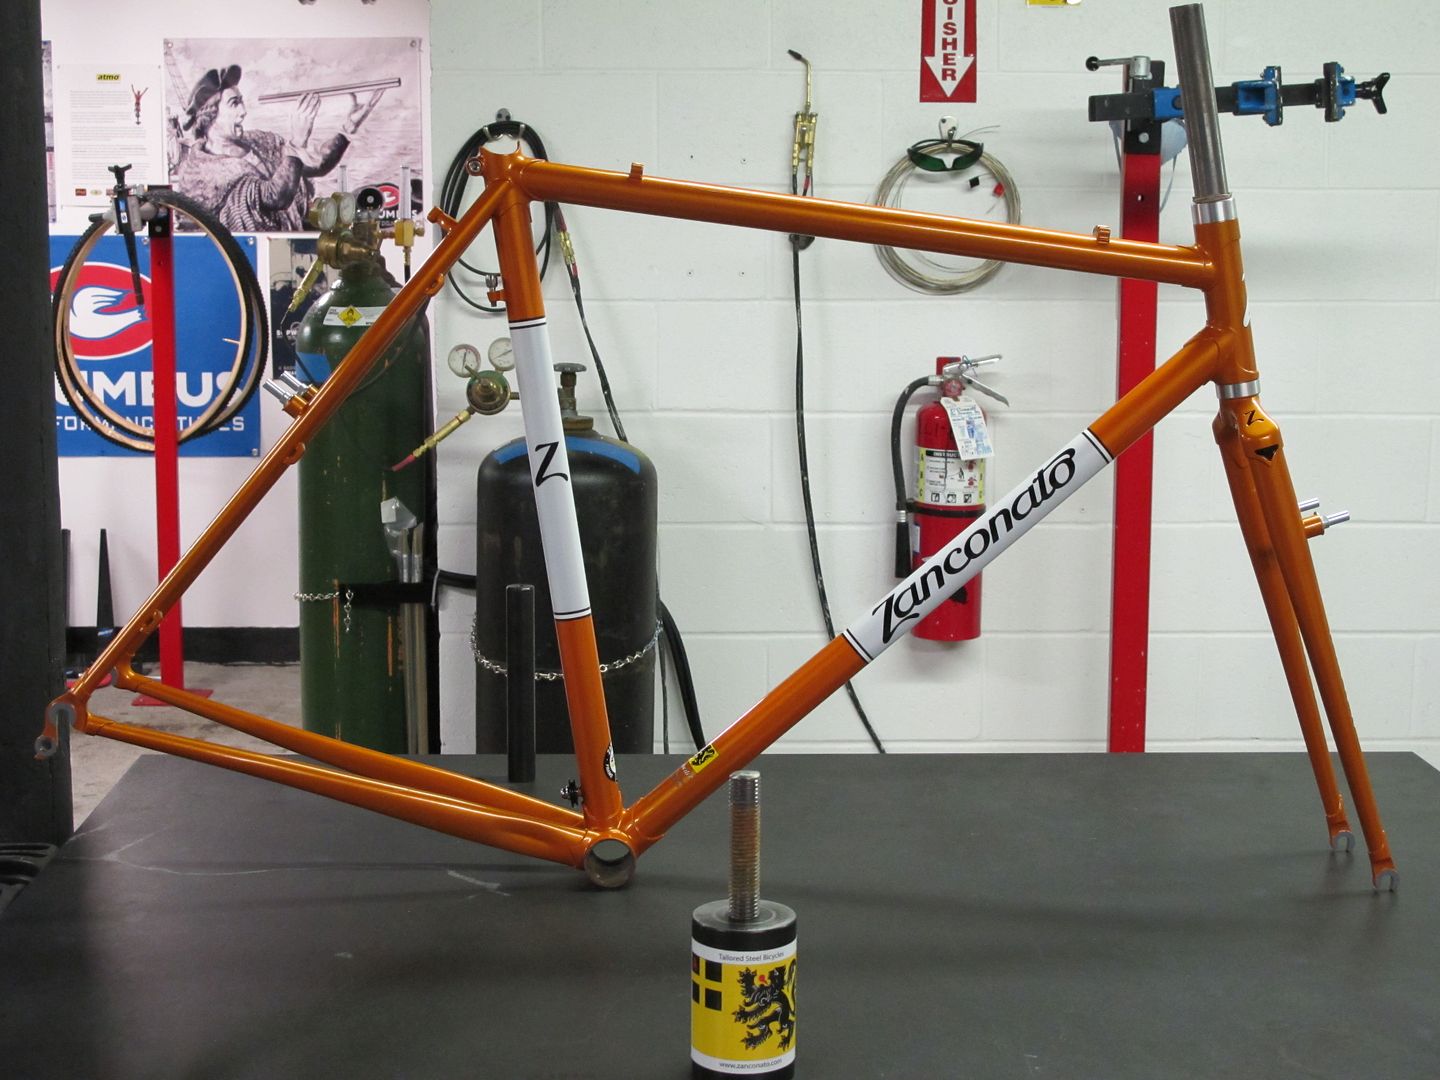
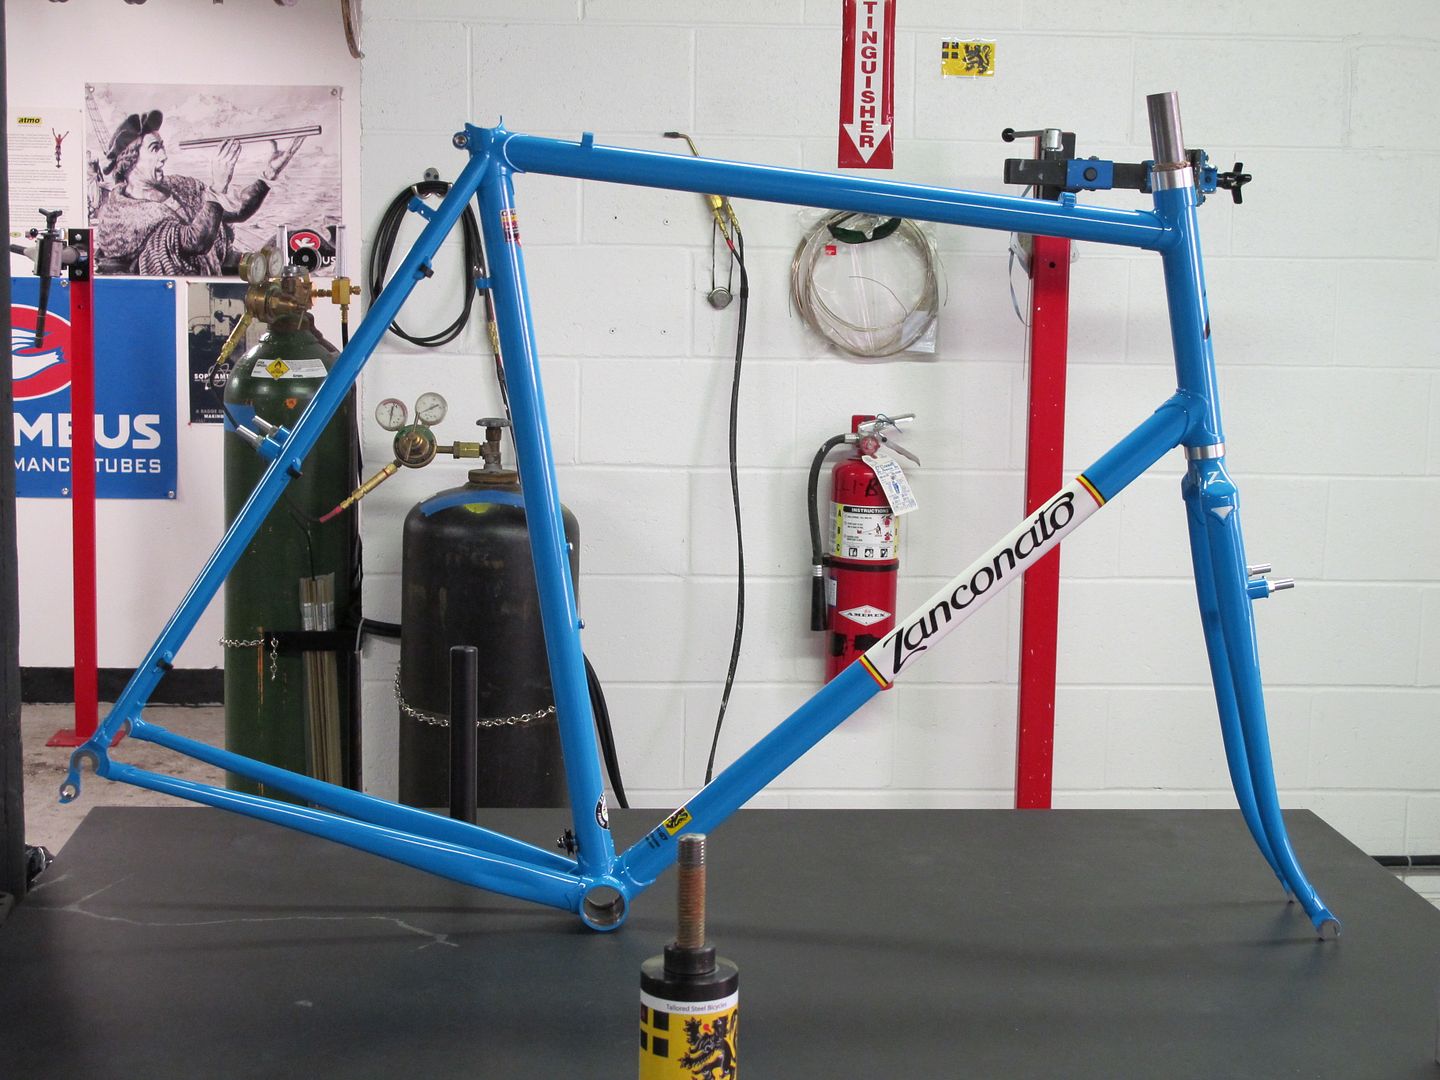
Cross bike for Dave B. More here.

Cross bike for Trent. More here.
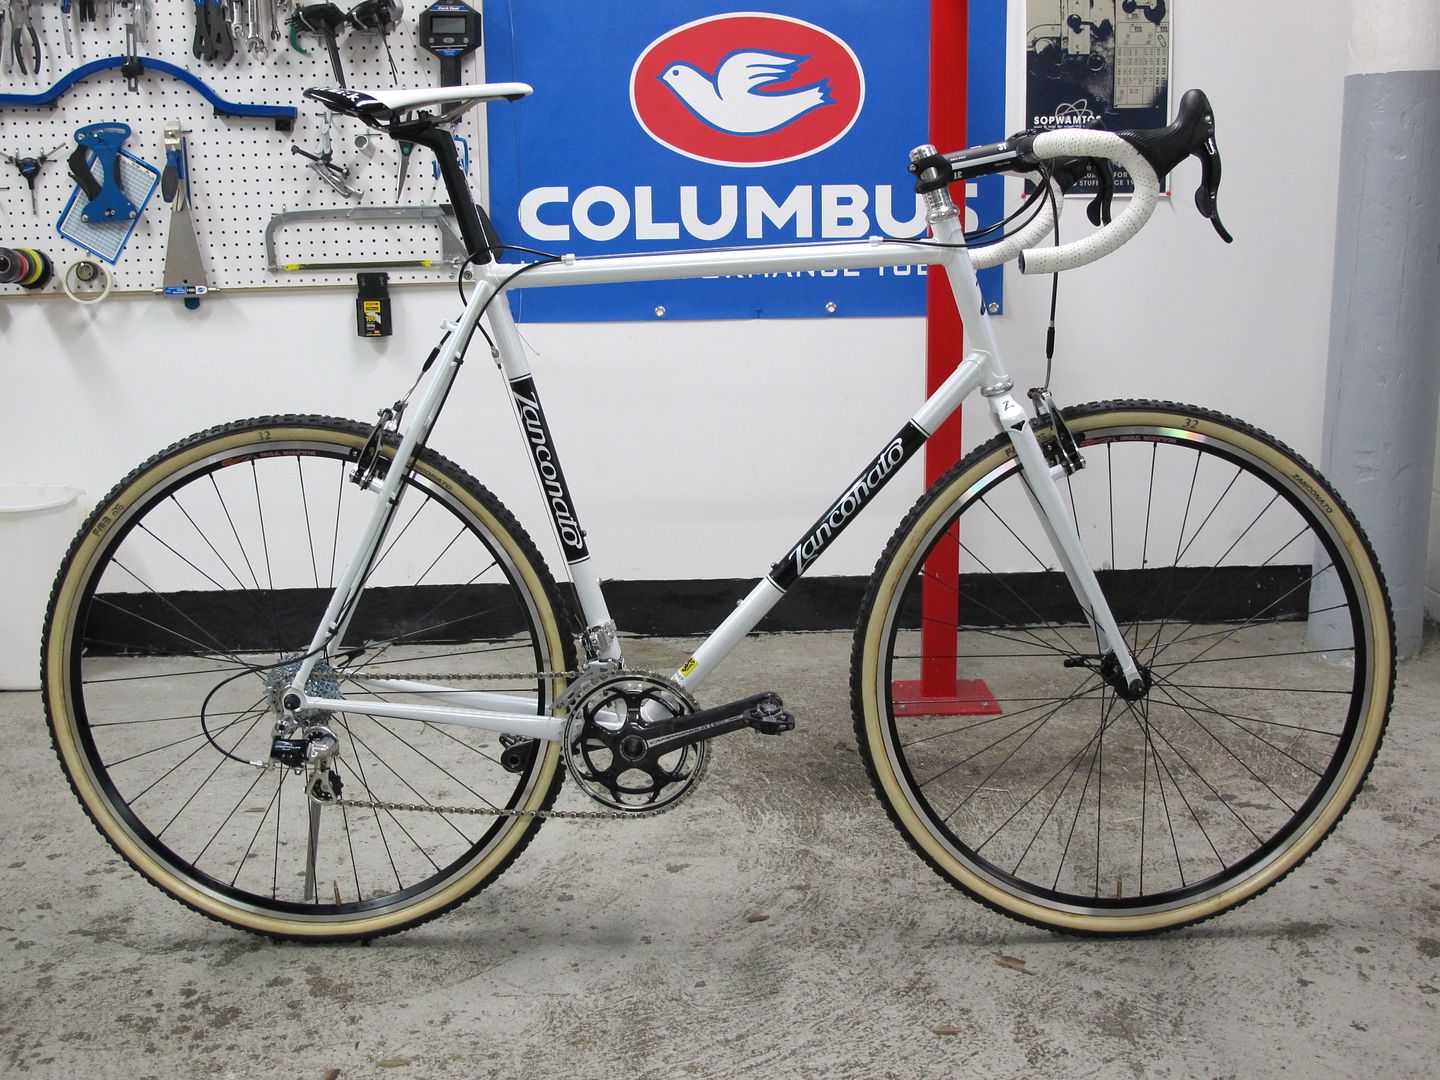
Cross bike for Ian. More here.
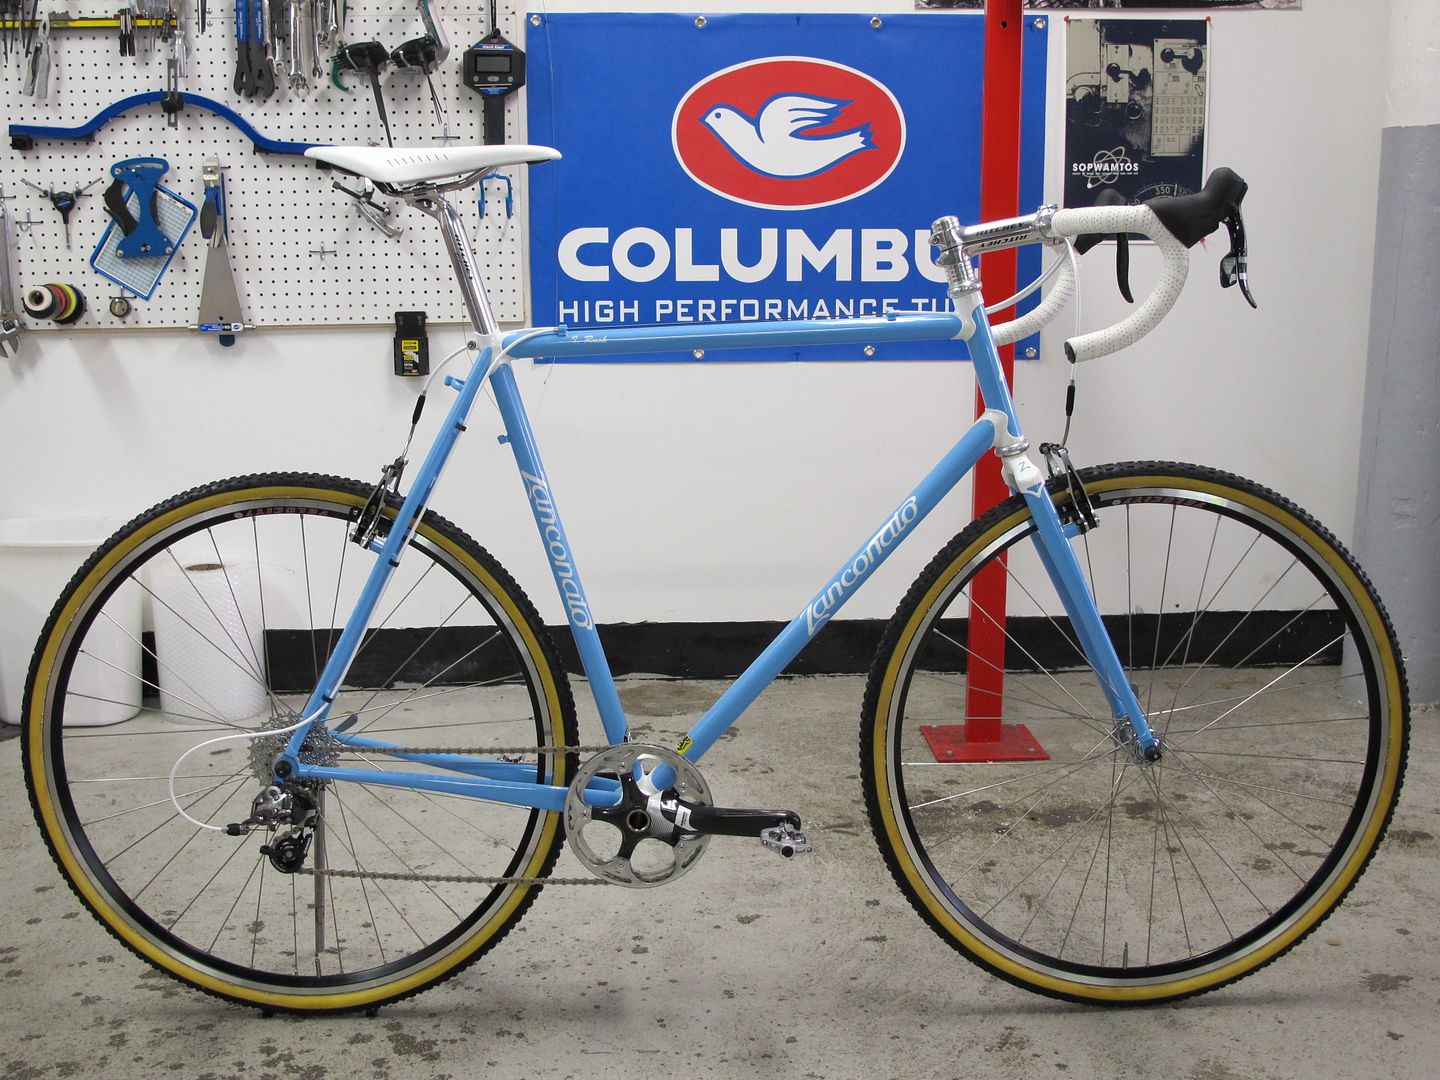
Cross frameset for Kevin. More here.
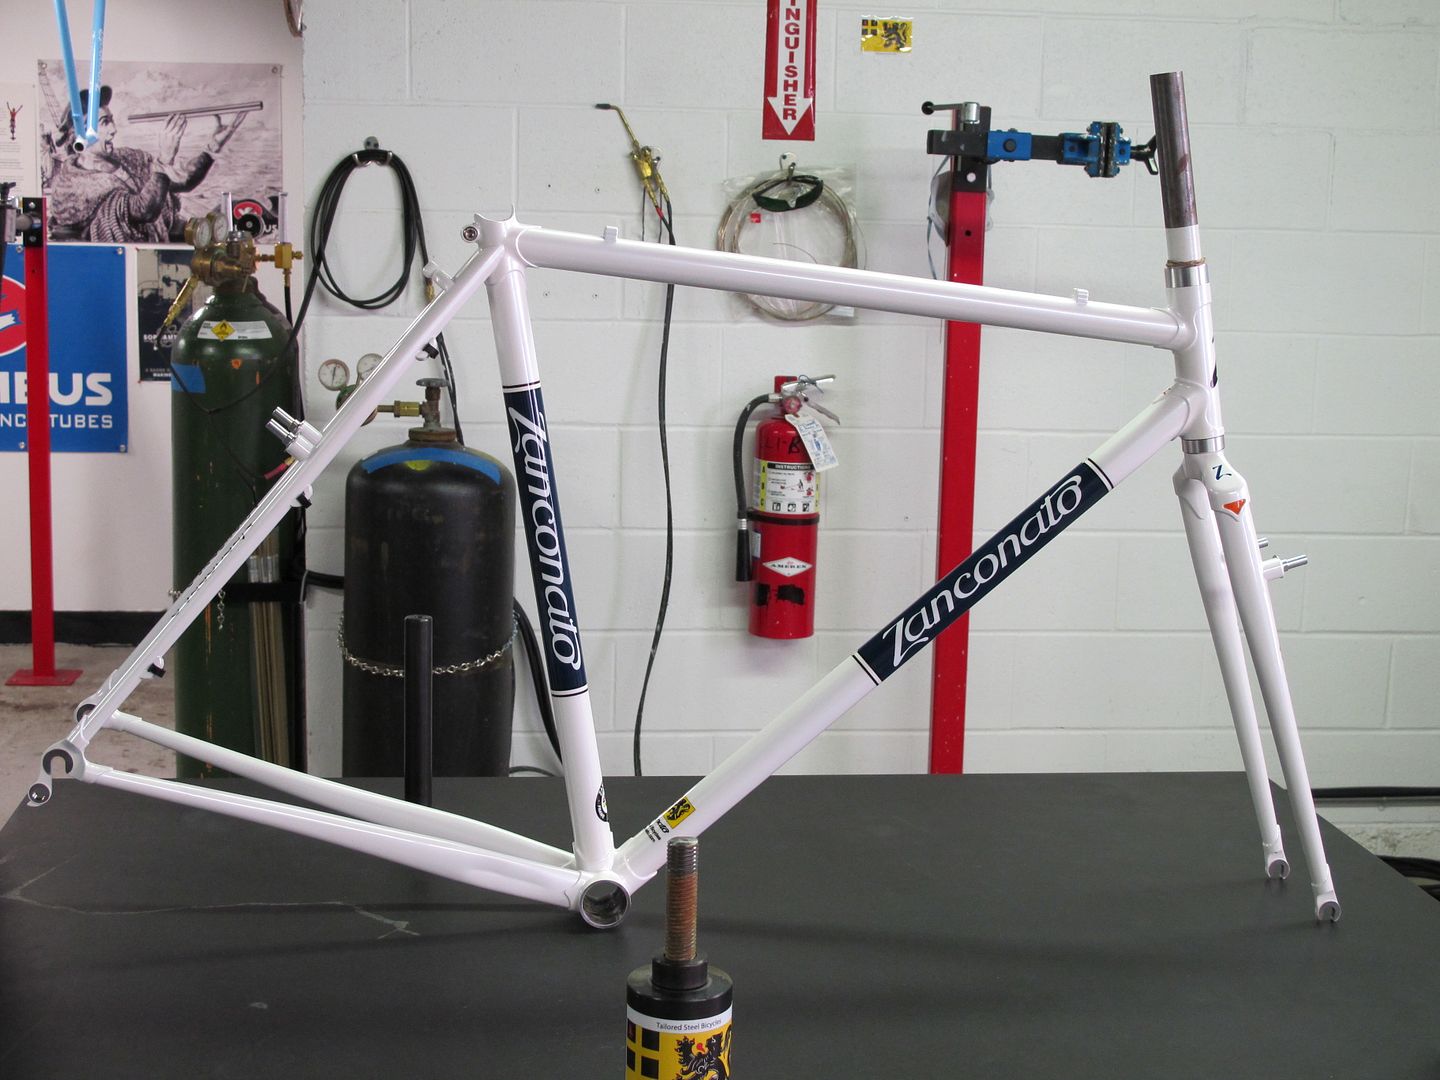
Cross frameset for Oliver. More here.
Thanks a million, fellas!
It's been awhile. I've had my head down and building a ton of stuff. I've also started getting chainrings in house. I am getting everything sorted and shipped as quickly as I can. I am packing a big bunch today that will be going out tomorrow. I am expecting a second big run to arrive Wednesday from the vendor. The ones I'll be shipping this week at 110 and 130 bcd. He sent the Campy rings to the anodizer and we are hoping to get the back very soon. Thank you all for your patience. We had some kinks in this first run, but it's getting smoother now. Also, the FMB Super Muds are starting to trickle in too. Francois had some delays in the tread delivery on his end. I'll ship those as soon as I get them.
Here are a few bikes that recently arrived from paint.
Cross bike for Dave B. More here.
Cross bike for Trent. More here.
Cross bike for Ian. More here.
Cross frameset for Kevin. More here.
Cross frameset for Oliver. More here.
Thanks a million, fellas!
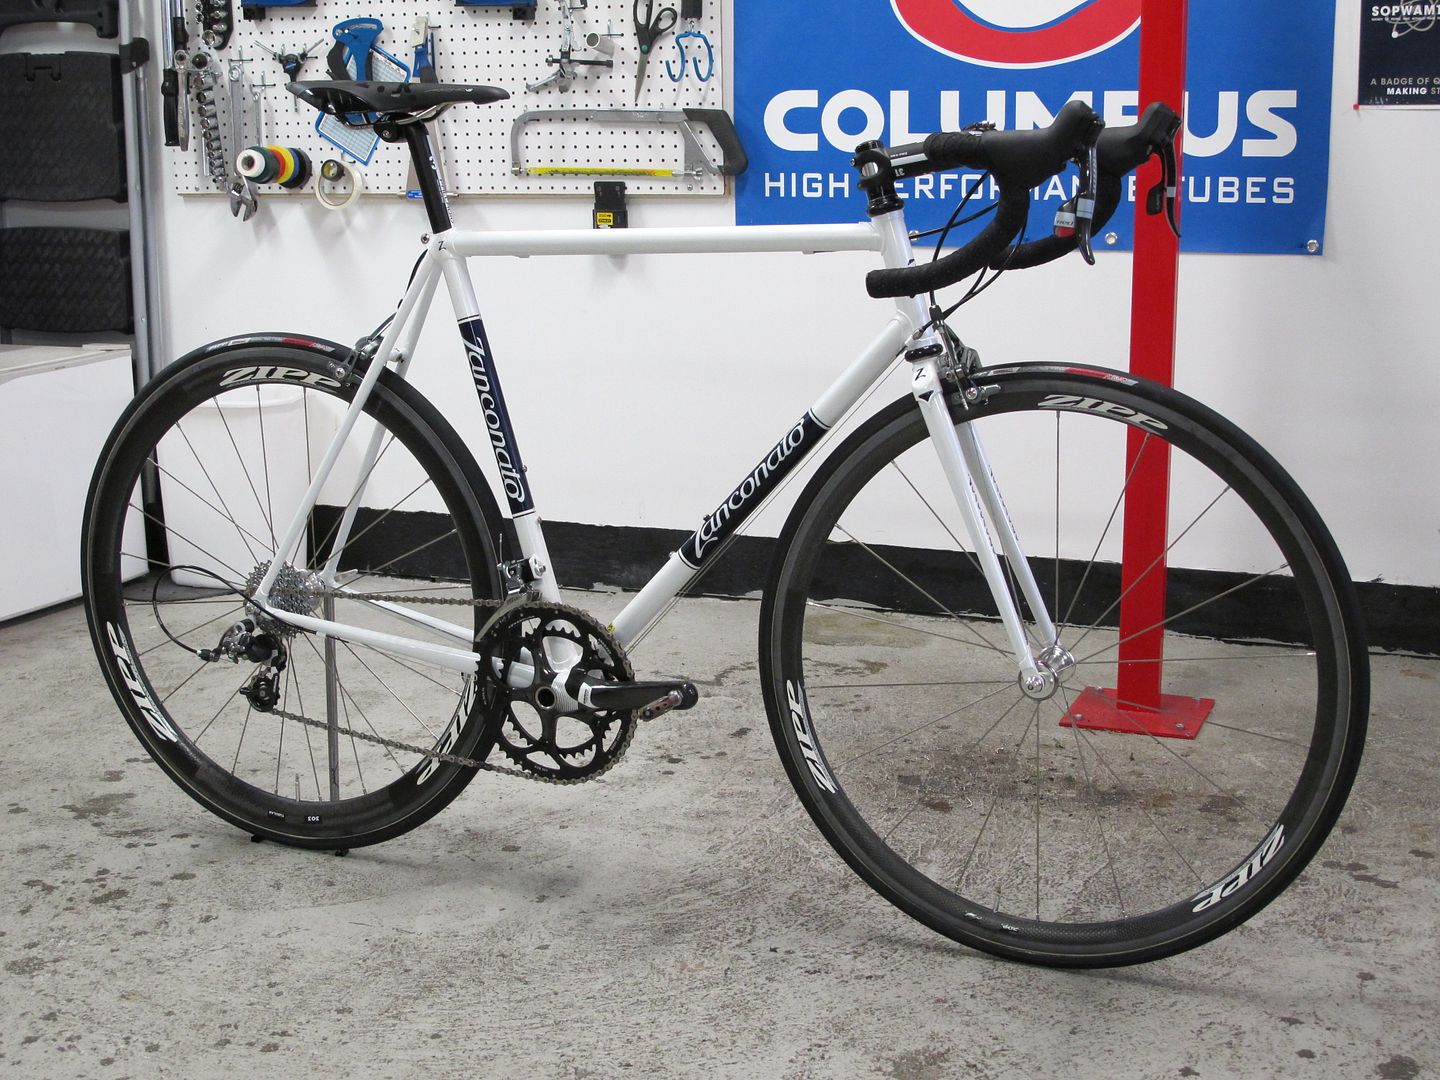
Thursday, August 18, 2011
Cross and MAX
Cyclocross is right around the corner and I've been working on Max bikes this week. Two of my favorite things! For those that ordered FMB tubulars, the first part of the shipment arrived. Francois finished up the Gripo XLs, Grifos, SSCs, and SSC Sprints. He's still waiting on the new SSC Super Mud tread bands from his supplier. He said that he will get them done as soon as he has bands. I'll start getting these out to you all ASAP.

I did a bunch of work prepping material for the MAX bikes. Lots of cutting, grinding, and filing ahead of me this weekend.


No fenders on these bikes.

I did a bunch of work prepping material for the MAX bikes. Lots of cutting, grinding, and filing ahead of me this weekend.
No fenders on these bikes.
Thursday, August 11, 2011
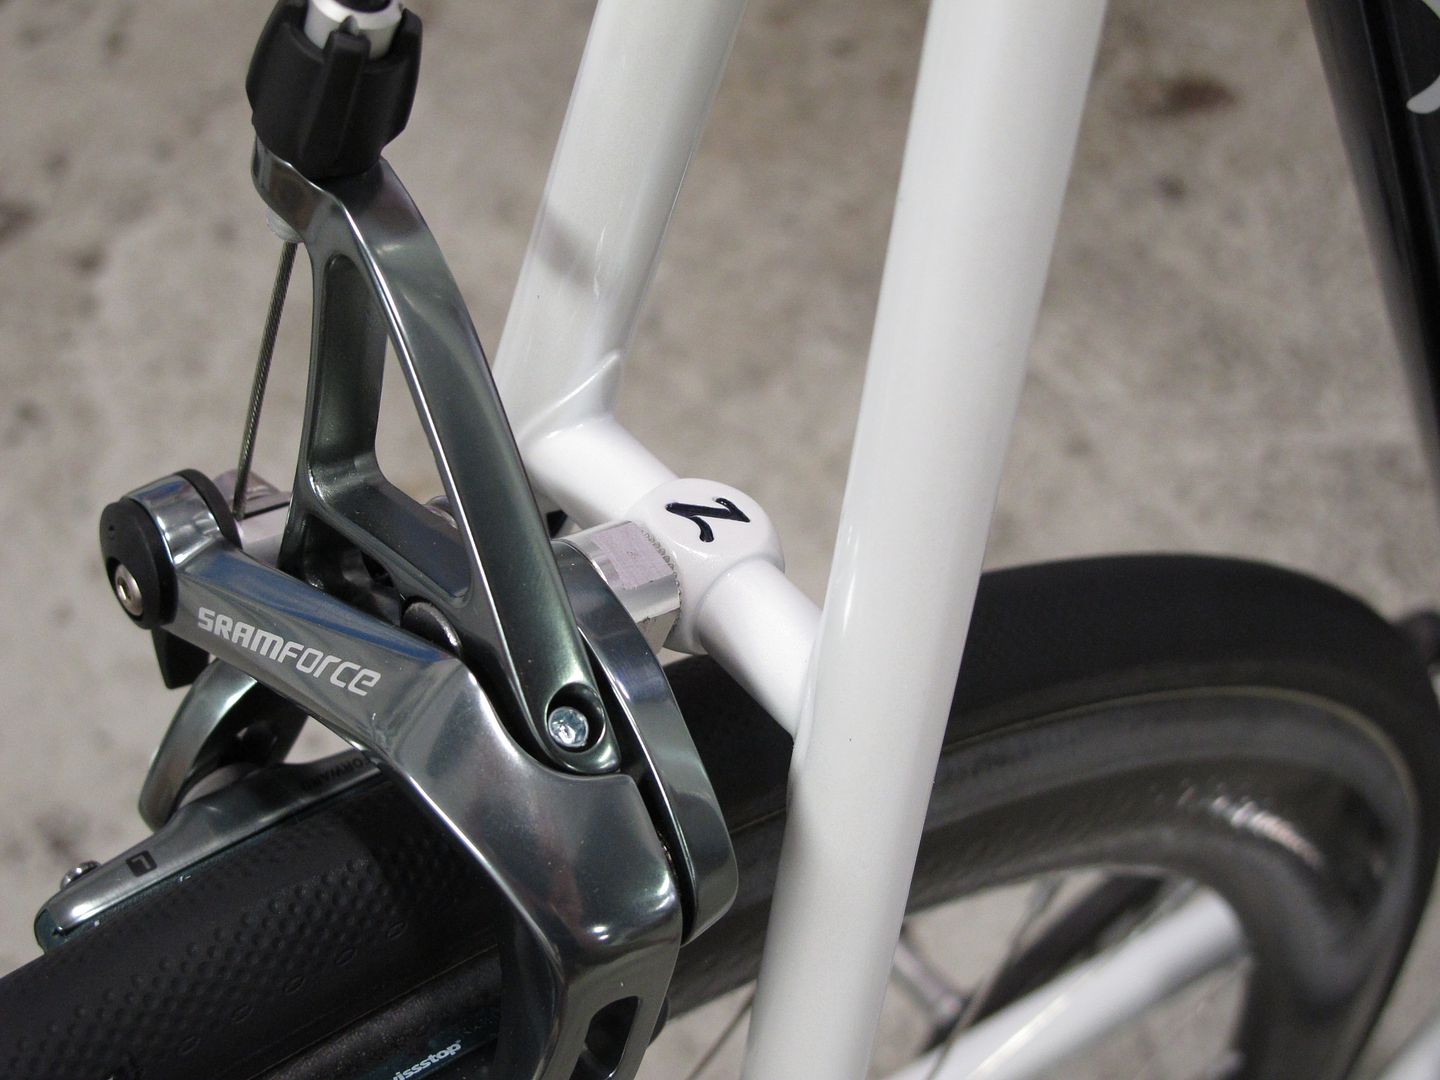
A tale of three brakes (and bikes)
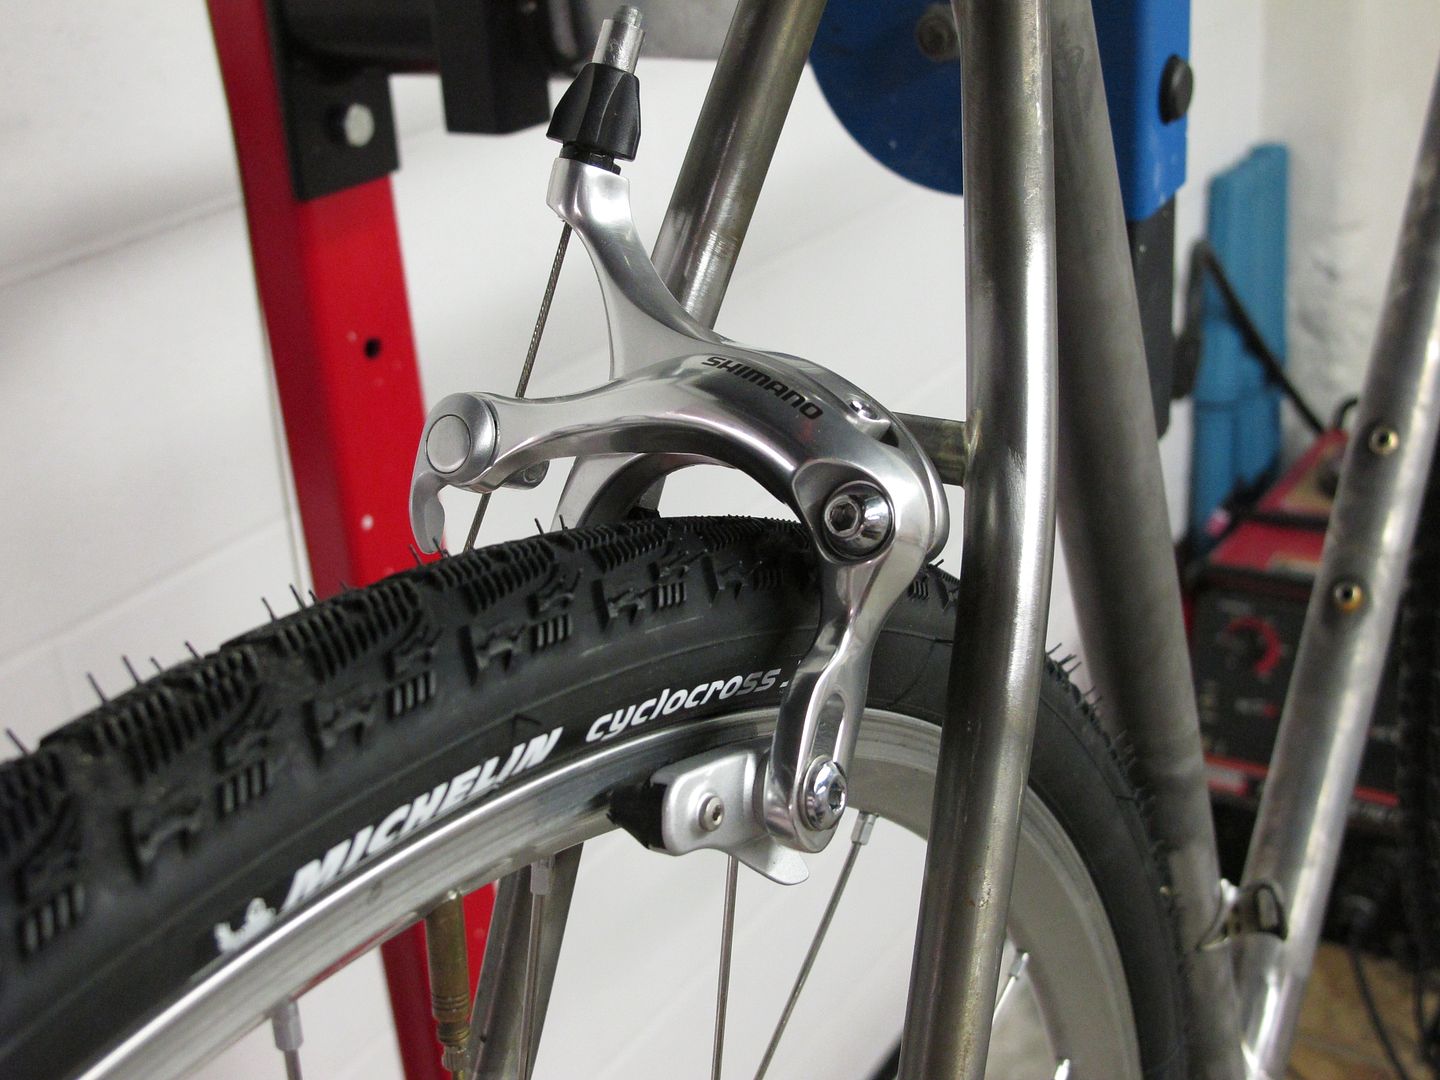
James wanted a bike that would feel great on the road, rock the dirt roads, and keep him dry during the spring melt. He also wanted simplicity. Shimano BR-650. Room for a Michelin Jet or 25s with Honjo 35 mm fenders.

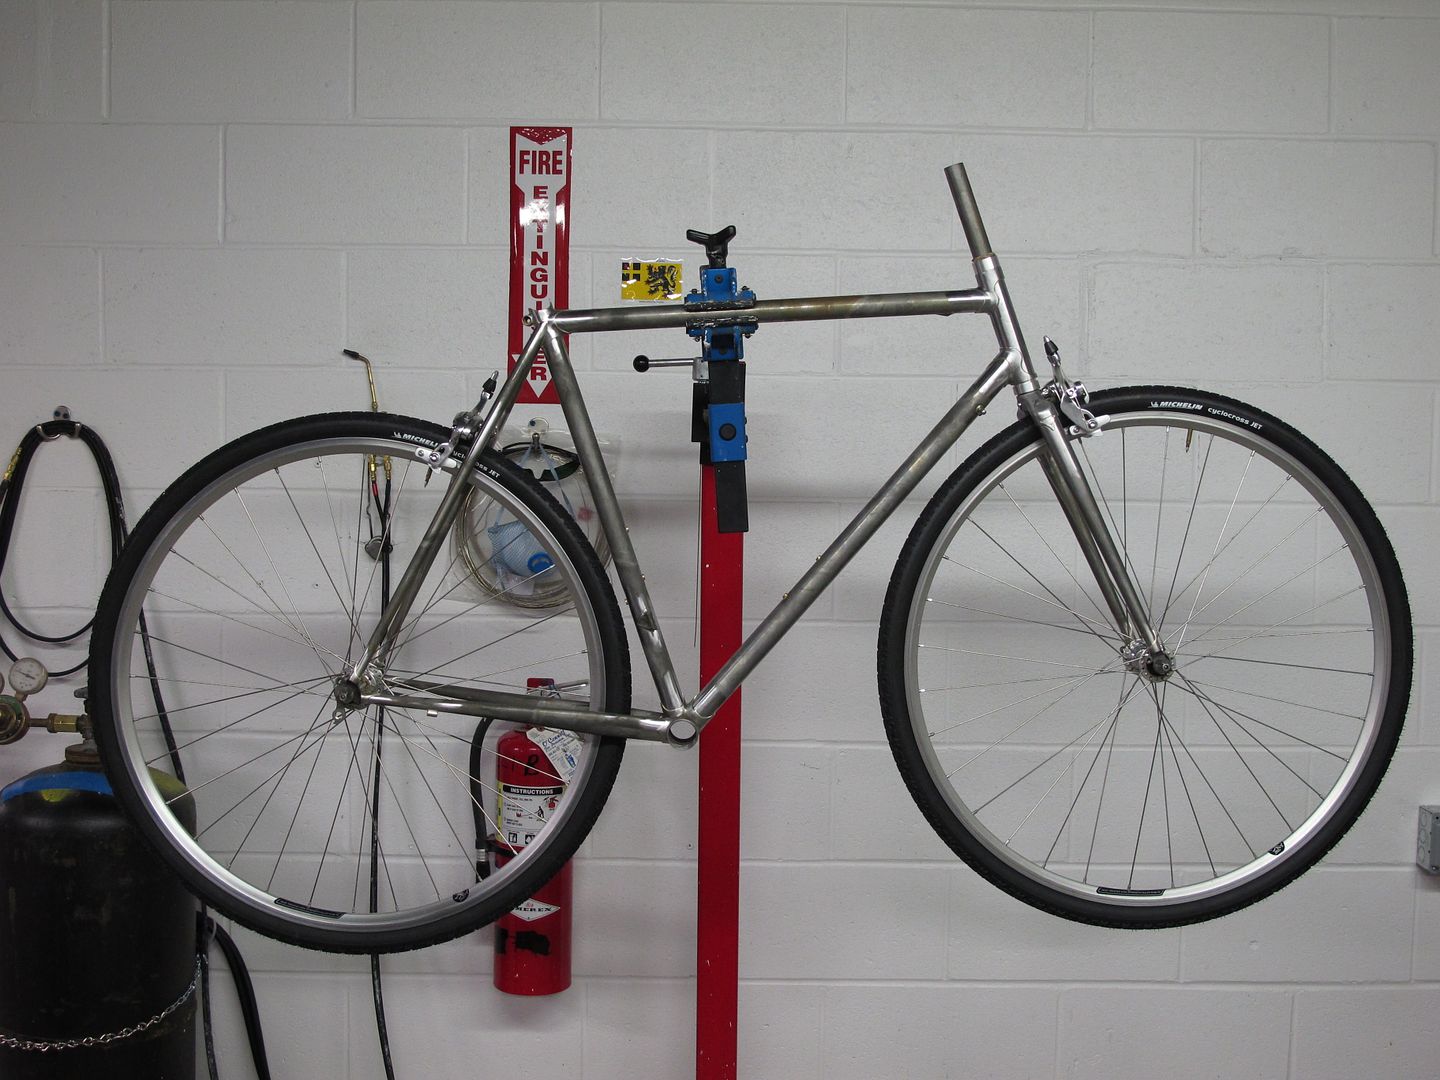
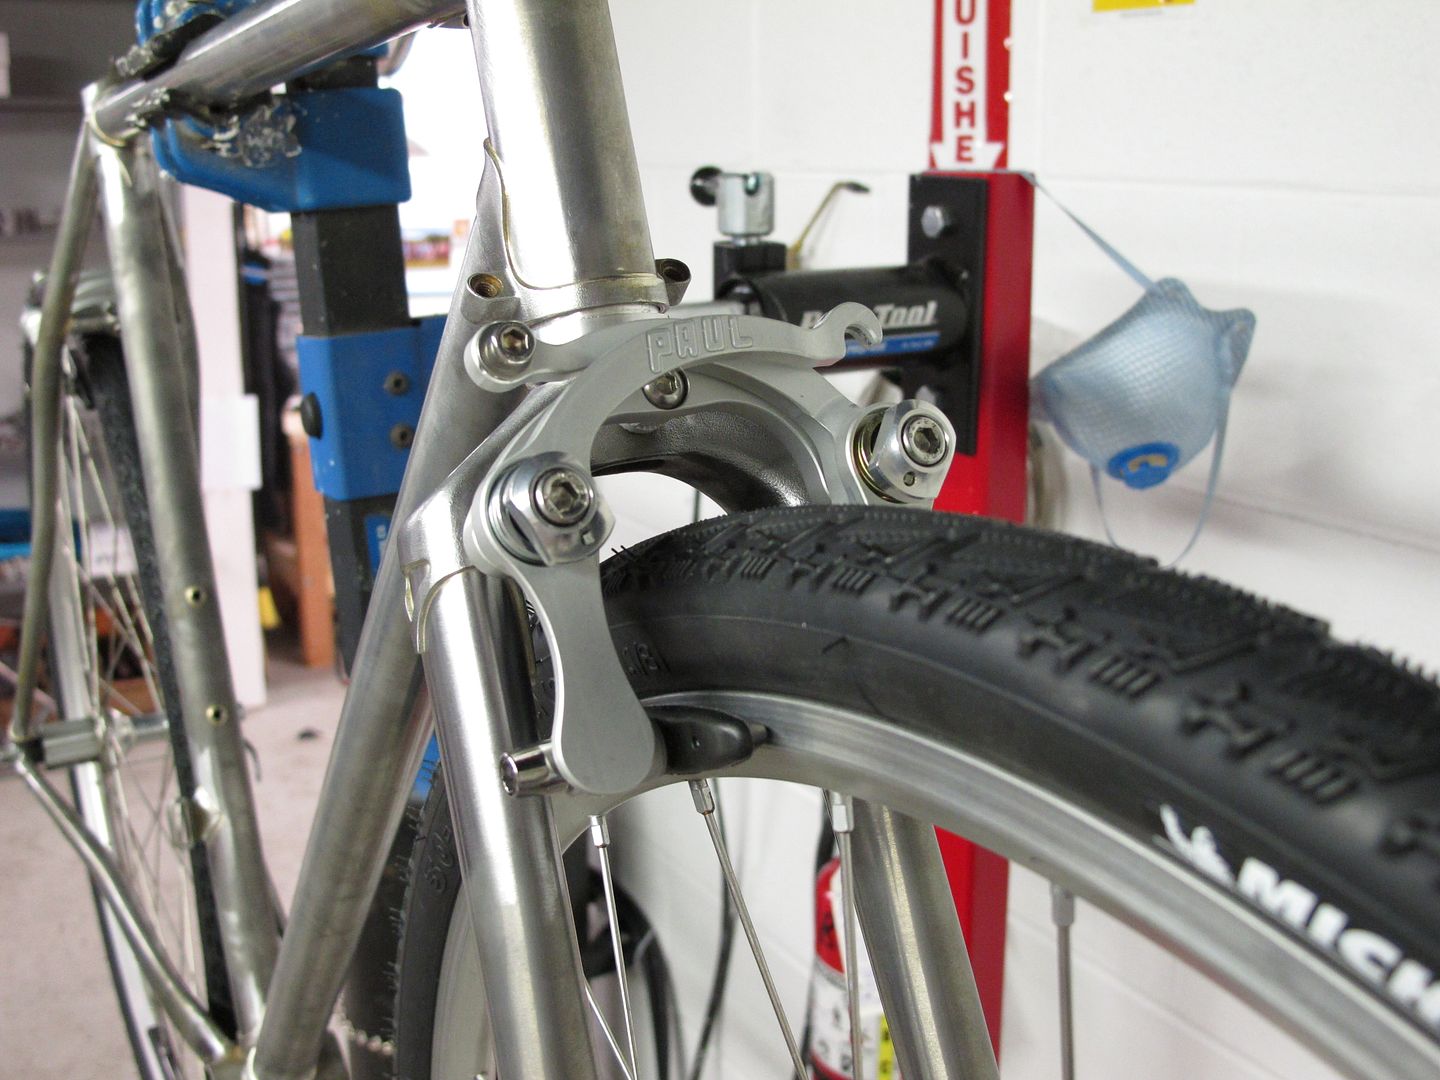
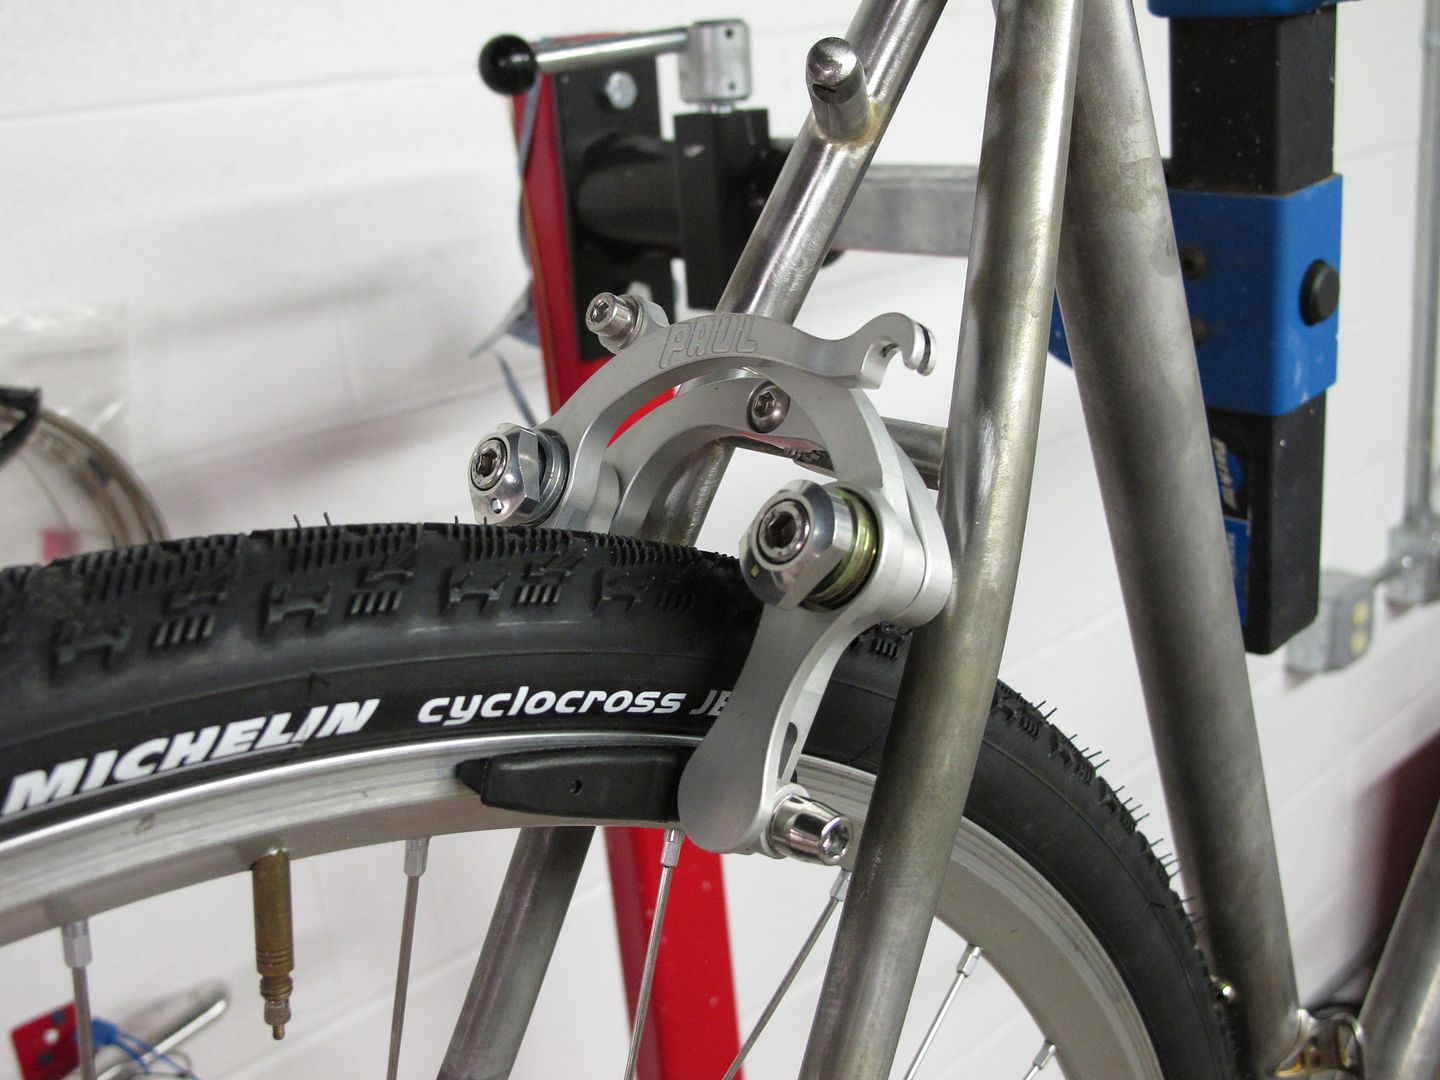
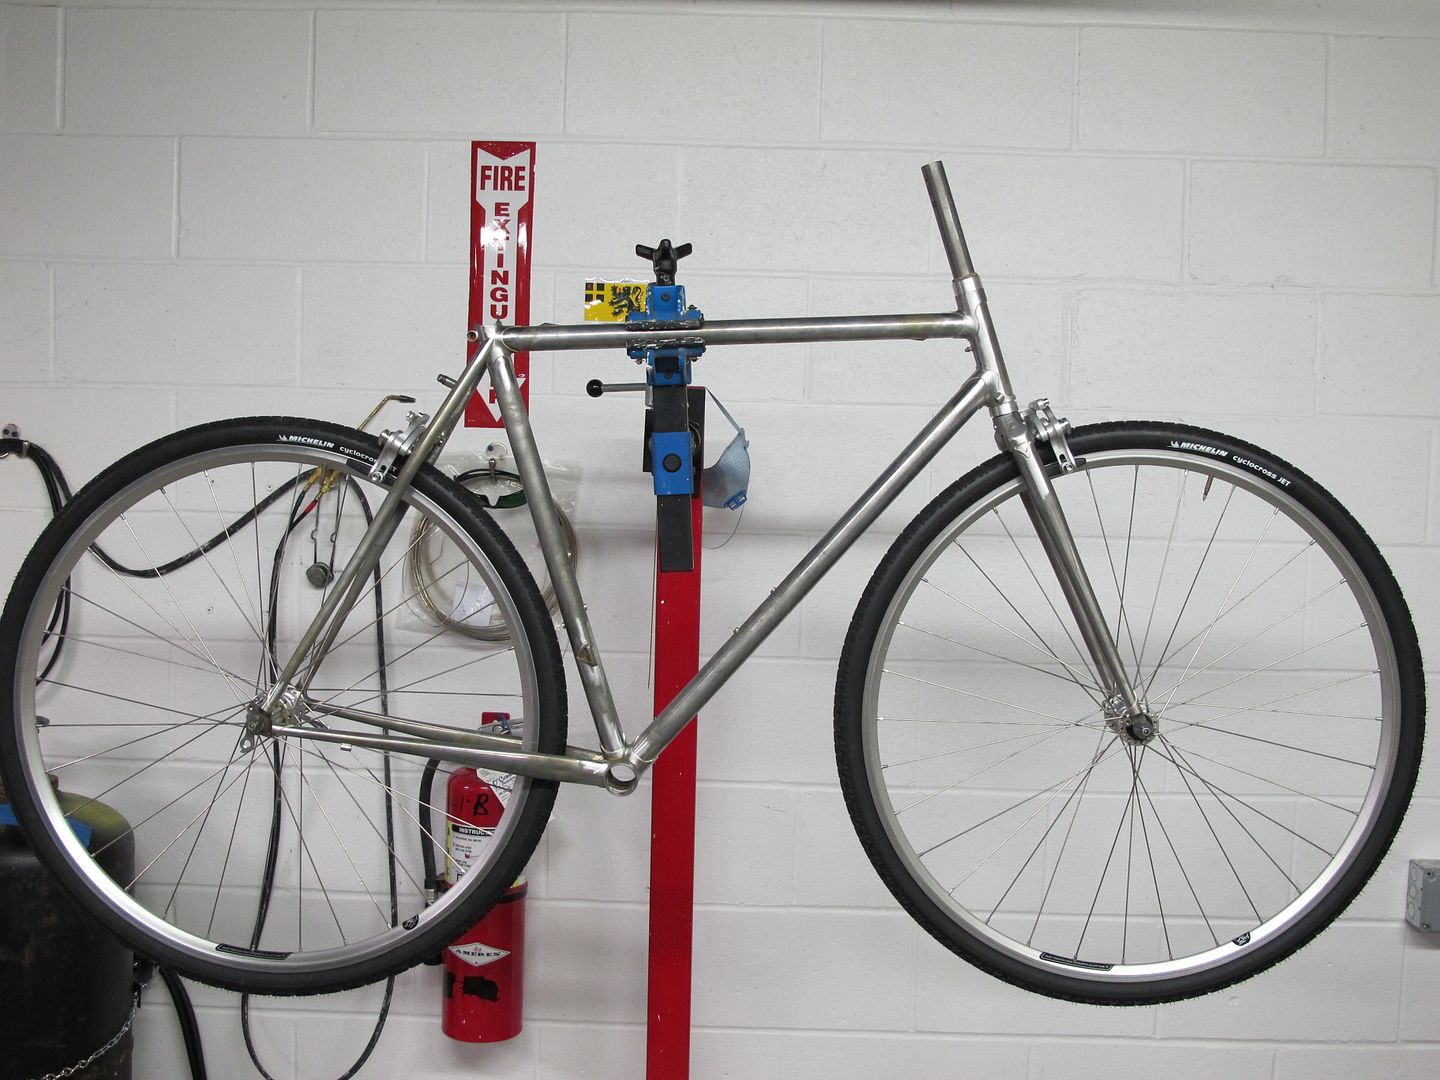
Lyen wanted a bike that would spend a lot of time on dry fire roads with big tires, keep the mud off of him with slightly smaller tires on wet dirt road days, and would still feel great in a paceline. Pauls Racer. Room for something massive without fenders and easily 30s with Honjo 43 mm fenders.
Justin wanted a bike that he could mount up some 23s on for some fast road riding on up to some fat knobbies if he was in the mood for some trails. Pauls Medium Racer. Tons of room and good looks.
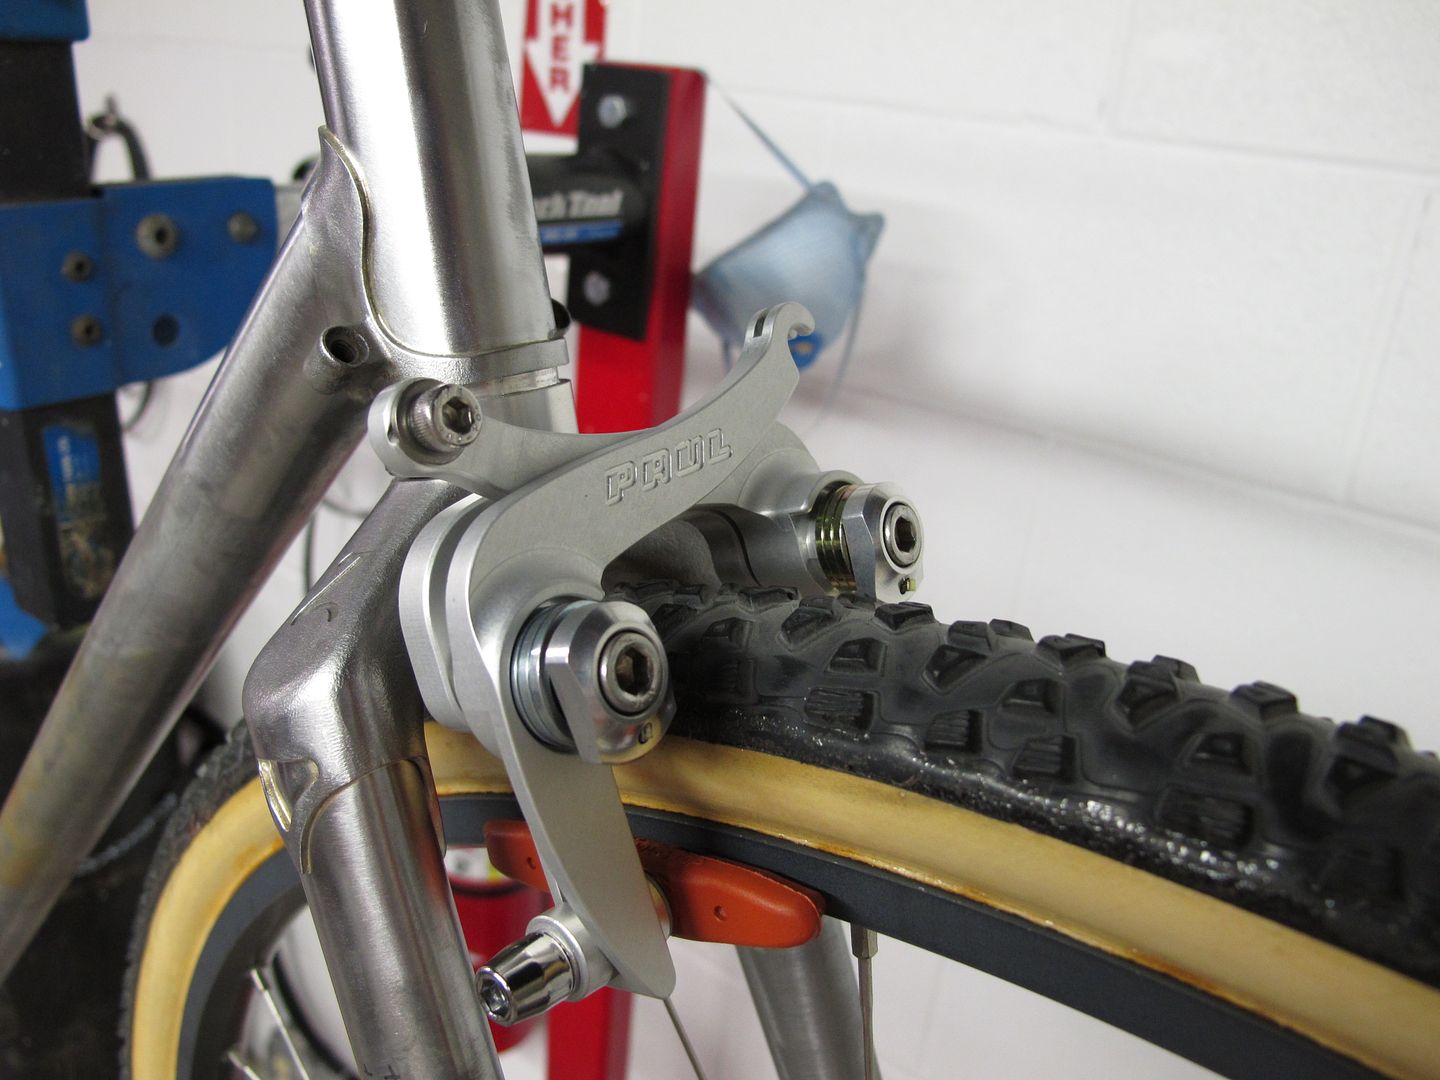
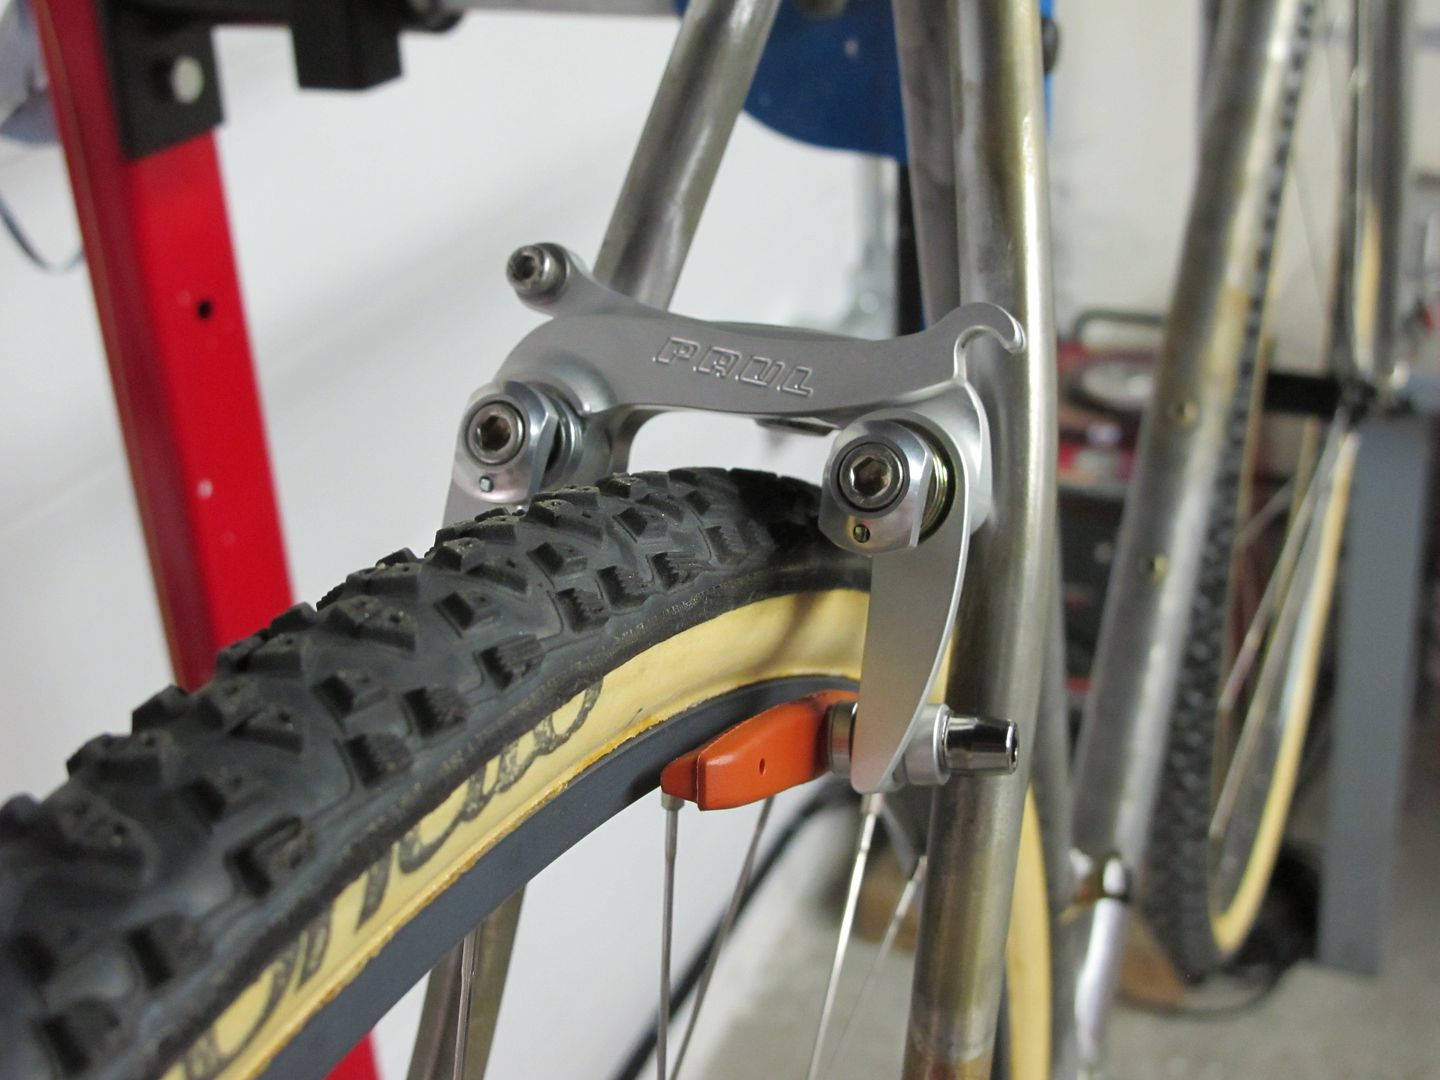
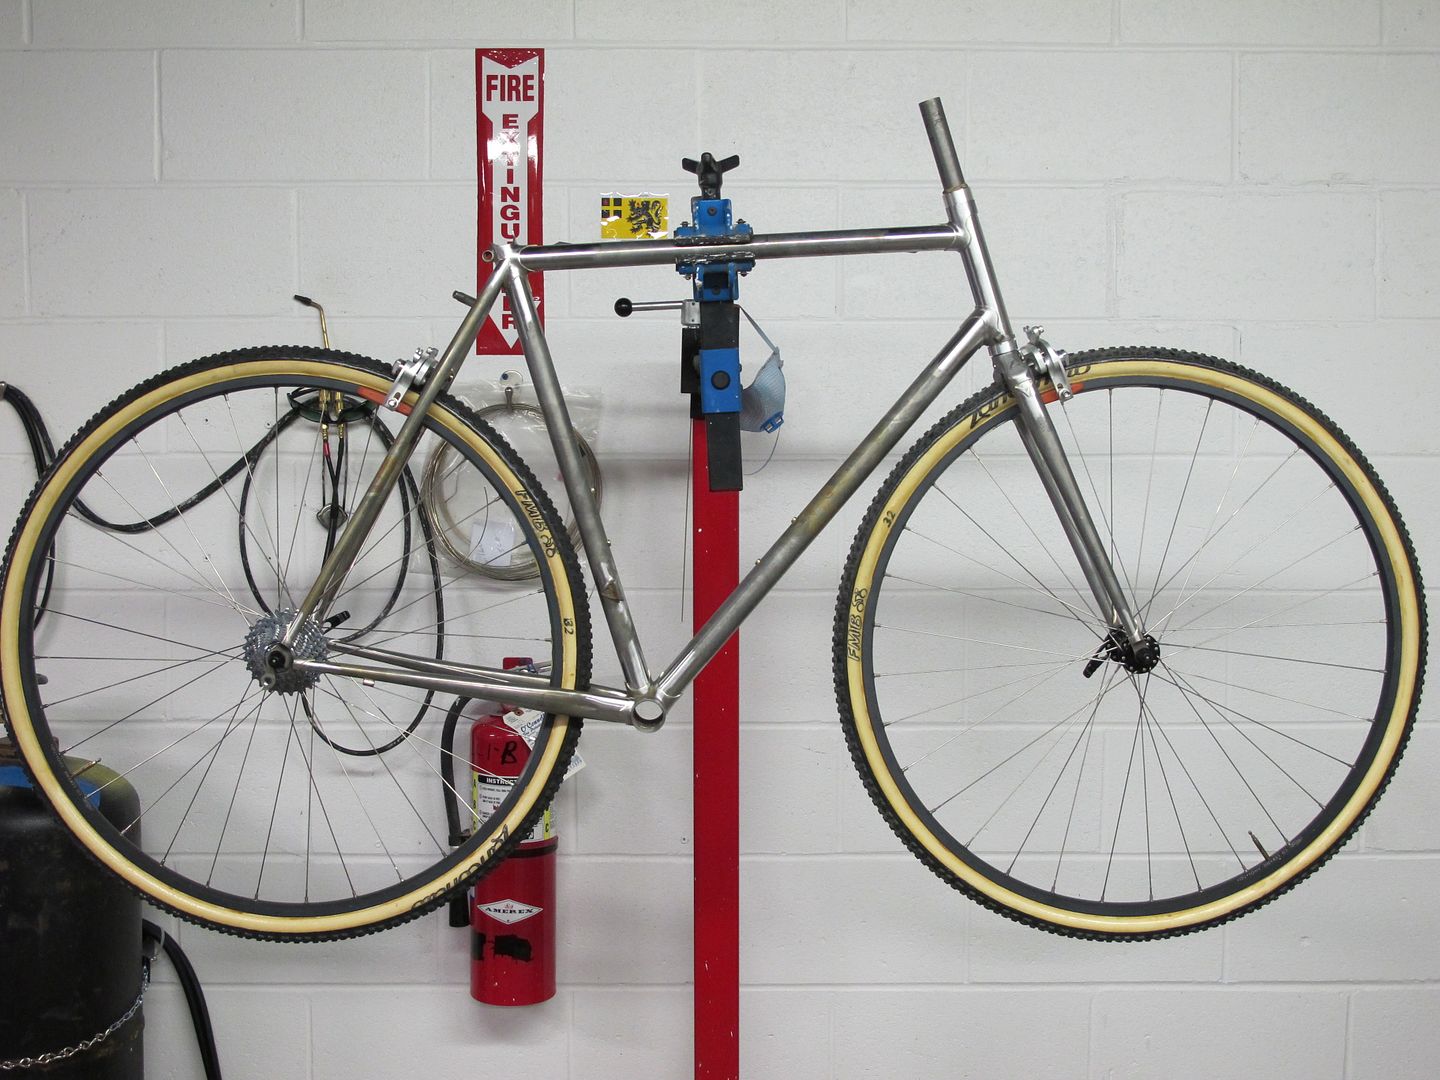
Gentlemen, thank you very much to each of you for the opportunity to build these bikes!
Lyen wanted a bike that would spend a lot of time on dry fire roads with big tires, keep the mud off of him with slightly smaller tires on wet dirt road days, and would still feel great in a paceline. Pauls Racer. Room for something massive without fenders and easily 30s with Honjo 43 mm fenders.
Justin wanted a bike that he could mount up some 23s on for some fast road riding on up to some fat knobbies if he was in the mood for some trails. Pauls Medium Racer. Tons of room and good looks.
Gentlemen, thank you very much to each of you for the opportunity to build these bikes!
Thursday, July 14, 2011


Subscribe to:
Posts (Atom)