
Next, the brake bolt holes are drilled. A 1/4" drill is used on the front of the crown.

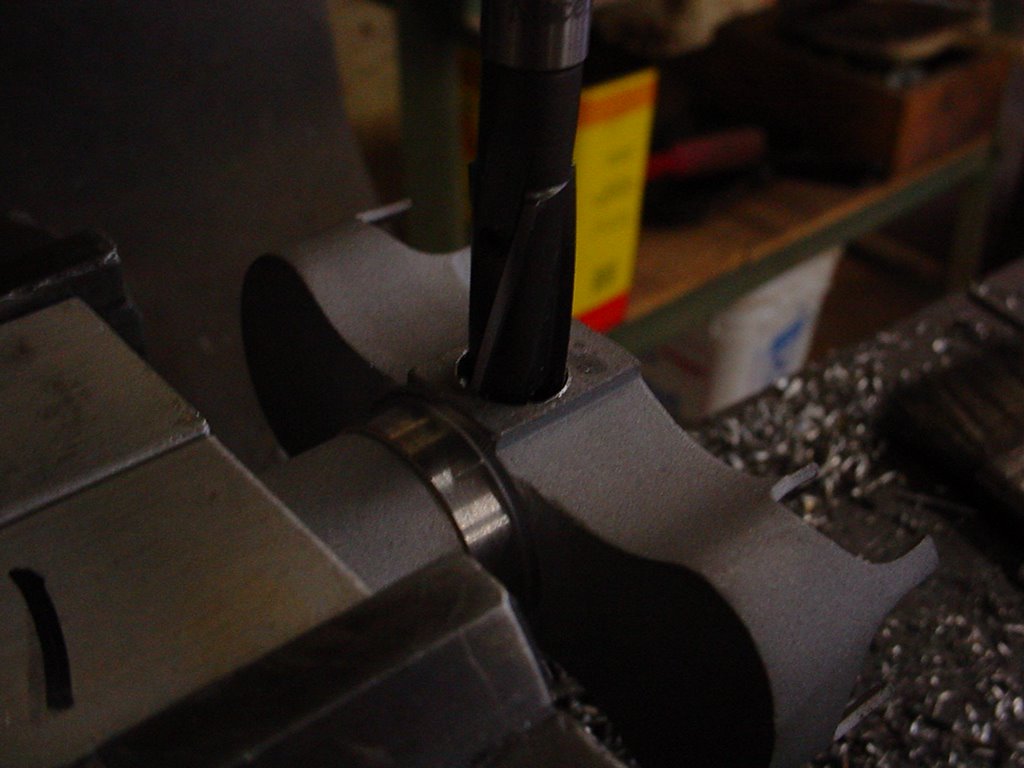
A 5/16" drill is used on the back of the crown for the brake nut. I then use a 7/16" counterbore to sink the brake nut into the crown. The counterbore is pictured below.
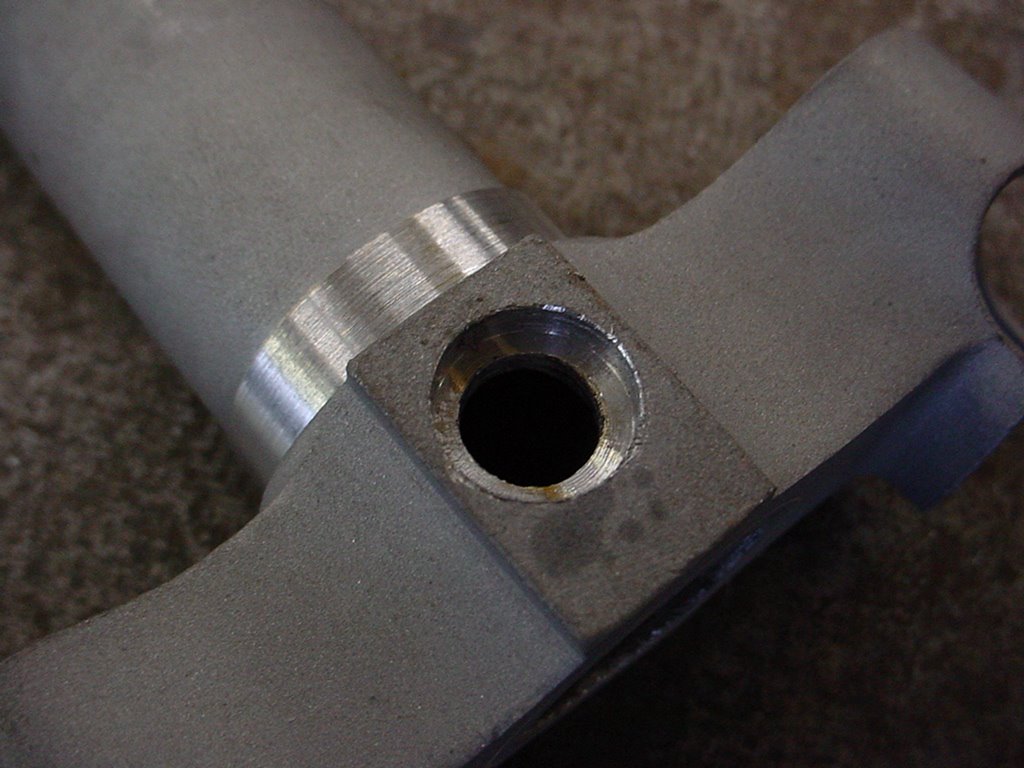
Here are the results. 1/4" hole on the front of the crown and a 5/16" hole with a 7/16" counterbore on the backside. The counterbore is an often overlooked step, but I think it lends to the clean look. You can also see in the bottom picture that I have turned the crown race to 1.043". Perfect for a Chris King crown race.

Up next, bending the blades and preparing the tips for dropouts.
No comments:
Post a Comment