Friday, February 24, 2006

After the dropouts are brazed in and the flux is soaked off, you are left with this. I have built up a little extra bronze on the top and bottom to sculpt.


Here you can see the dropout and blade after filing. I have removed a lot of material from the dropout itself, as well as smooth the transition blade to drop.


Here you can see the progression. I try to make the dropout as svelte-looking as possible.


Here, I am beginning to sculpt the top of the dropout. I remove as much material as possible and also work on the point. I also square off the top and bottom for a more finished look.


Thursday, February 23, 2006

The first step in preparing the blades is to bend them. I have a nice aluminum mandrel for this.


As you can see in the photo below, the tips of the blades are still straight. In order to provide a nice radius all the way to the tip, I bend the blades a little more than required and then cut them back to where the bend actually starts.


You can just barely see the bend start at the dropout in the photo below. I have slotted the blades for the dropouts. A nice tight fit is critical. These will be brazed in with bronze rod. I use bronze for this application rather than silver because it fills in the gaps better. You can see there is a large space to fill.


Friday, February 17, 2006

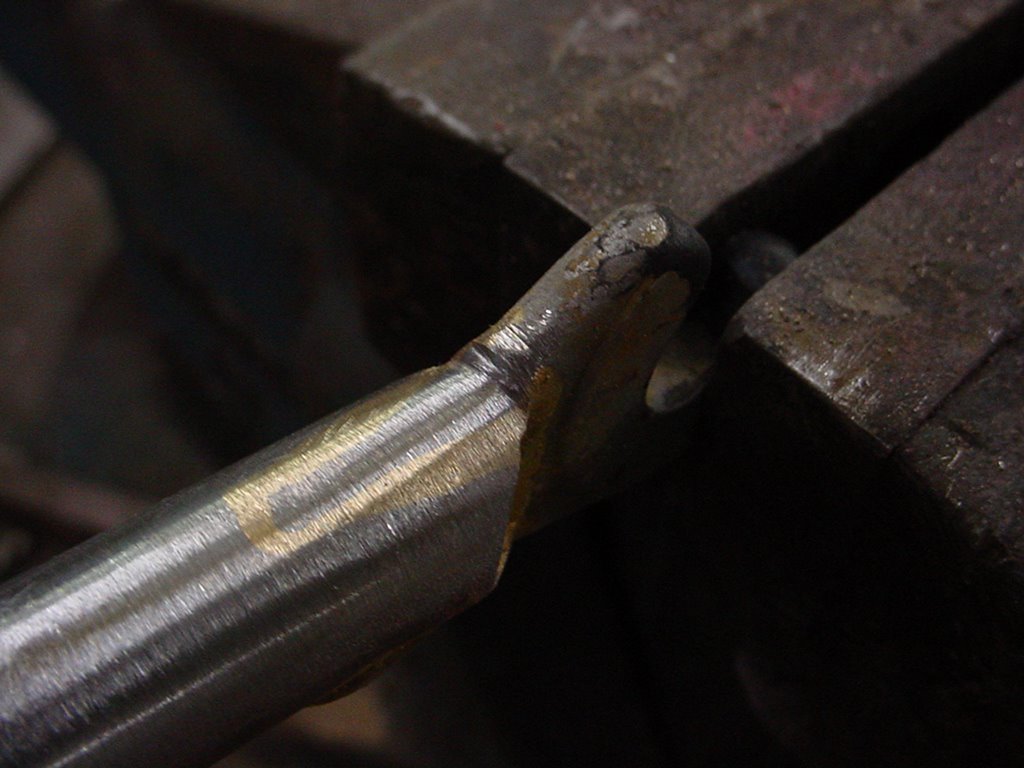
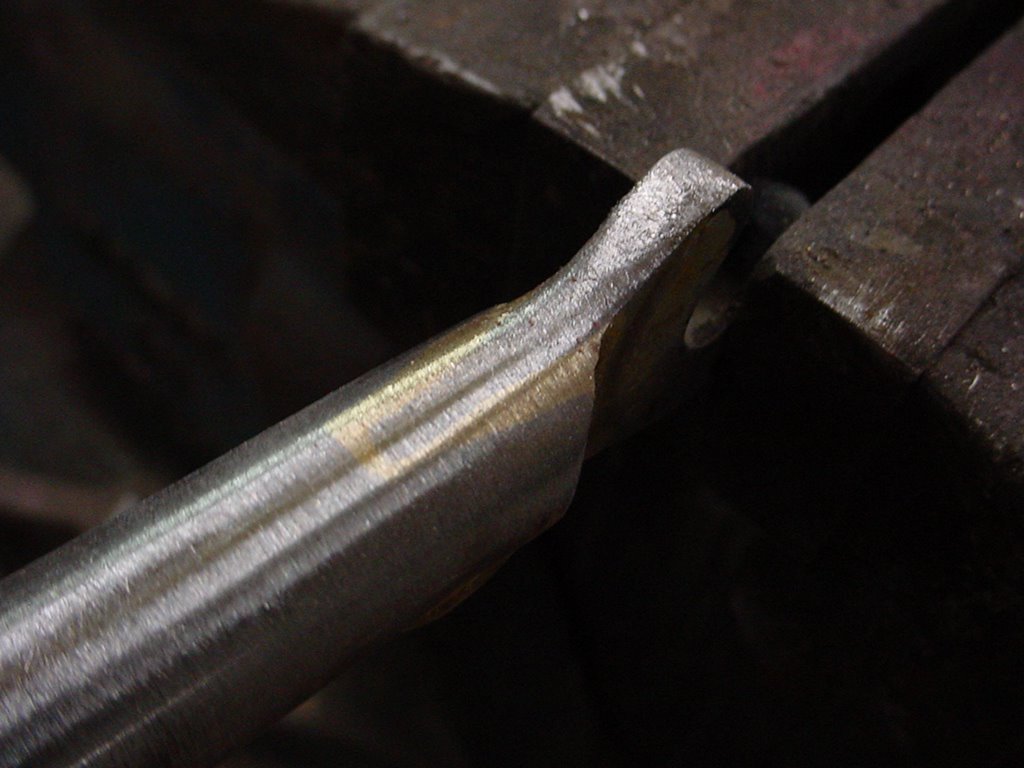
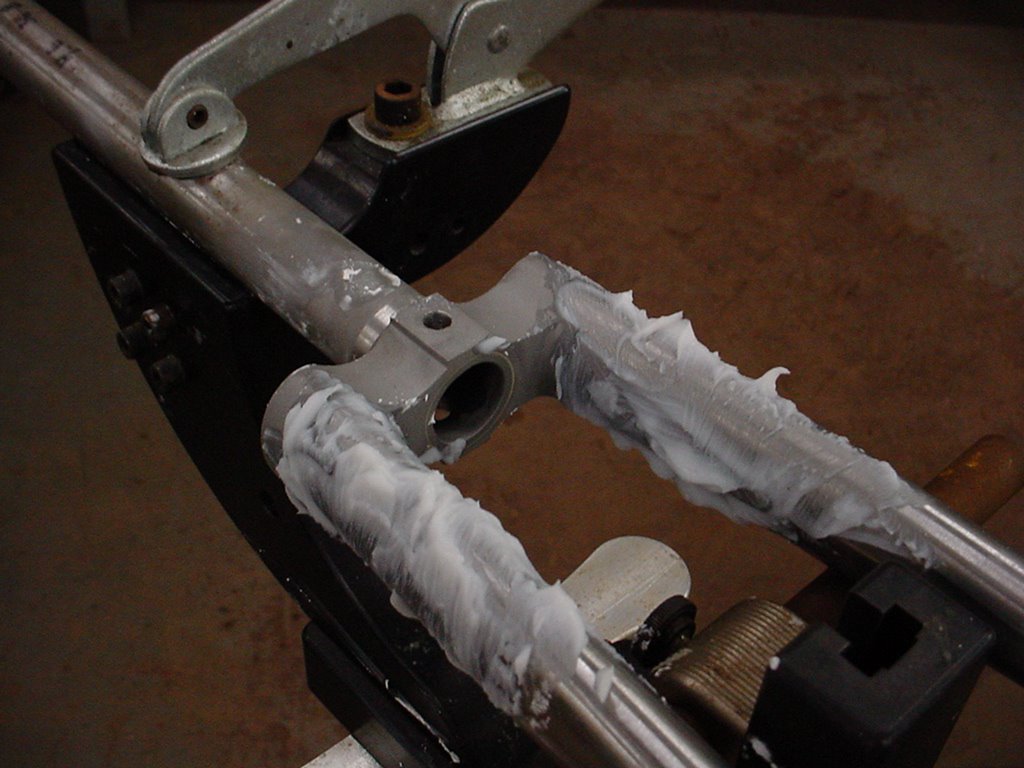
Getting started on the fork involves brazing the steerer into the crown. The steerer passes all the way through the Richie-Issimo crown. The parts are fluxed, the steerer is inserted, and the joint is heated. In the photo below, you can see that the silver has flowed all the way through the joint. I feed the silver from the crown race side. The bottom of the crown has been finish-filed and sanded smooth.


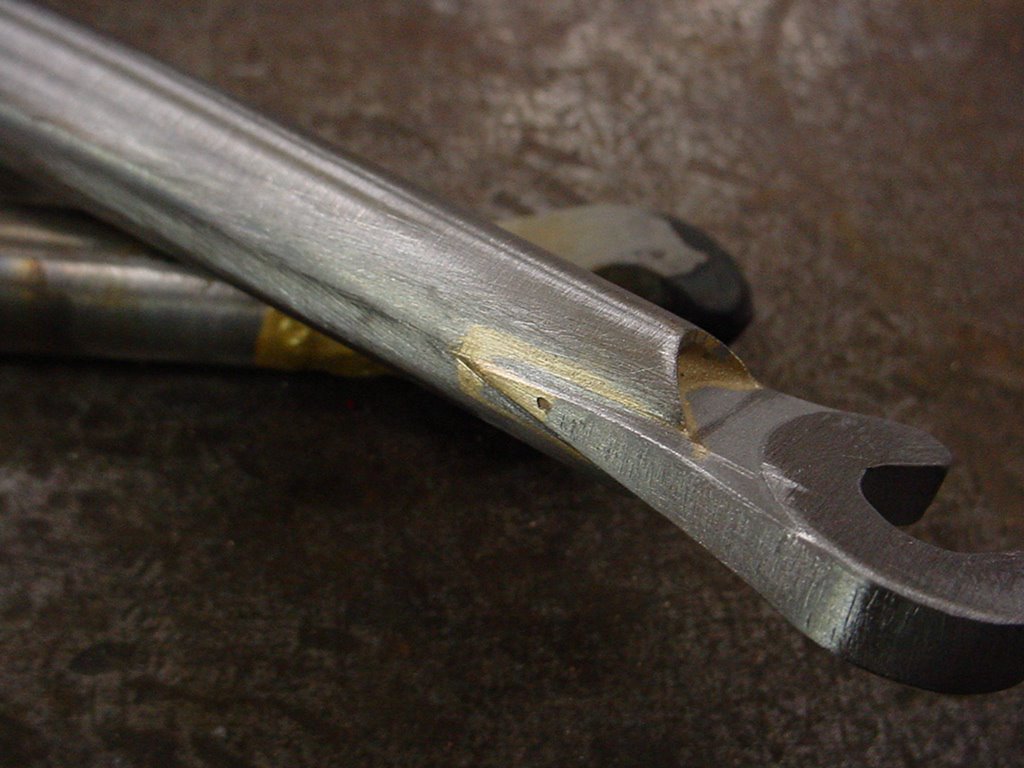
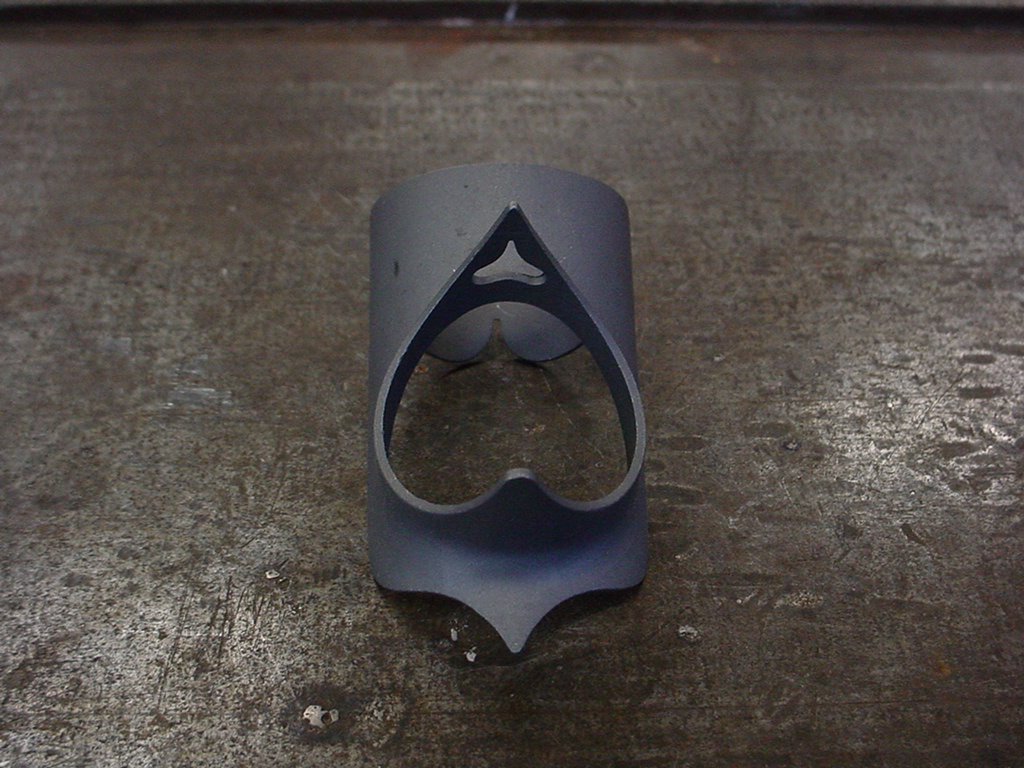
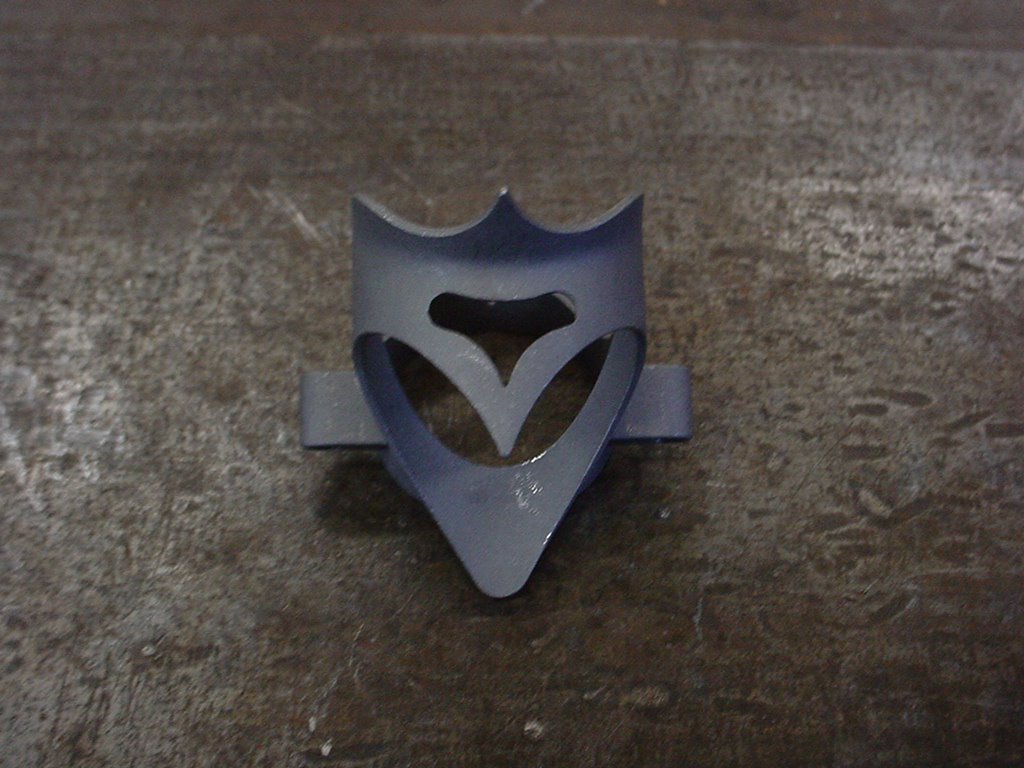
Next, the brake bolt holes are drilled. A 1/4" drill is used on the front of the crown.


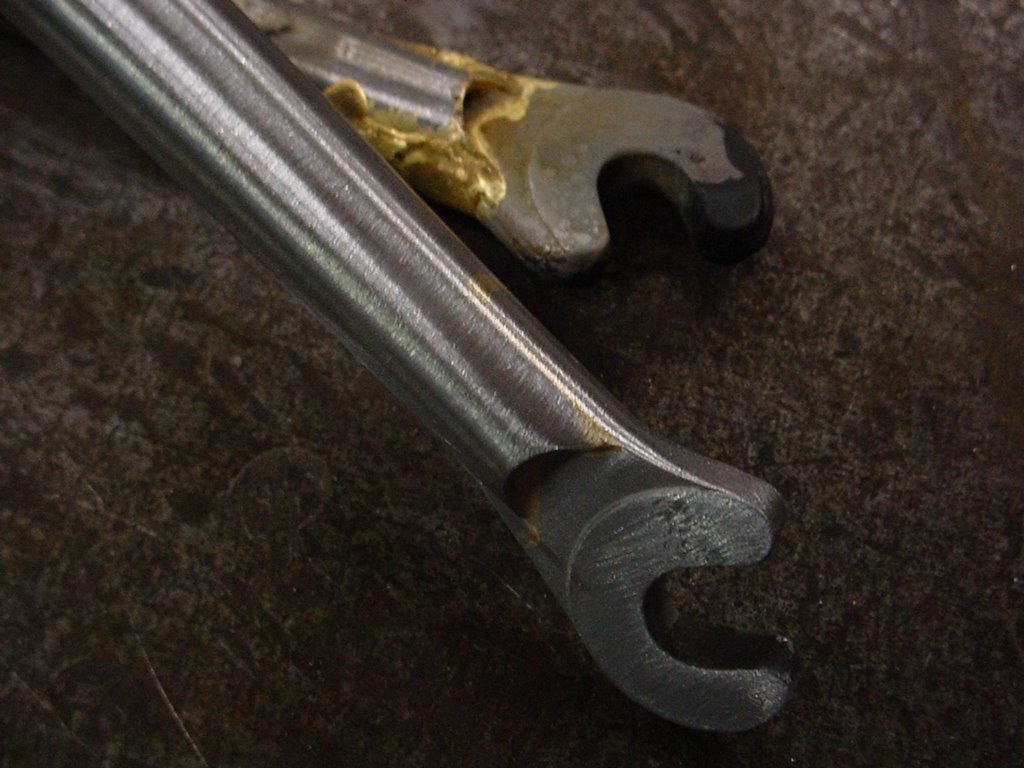
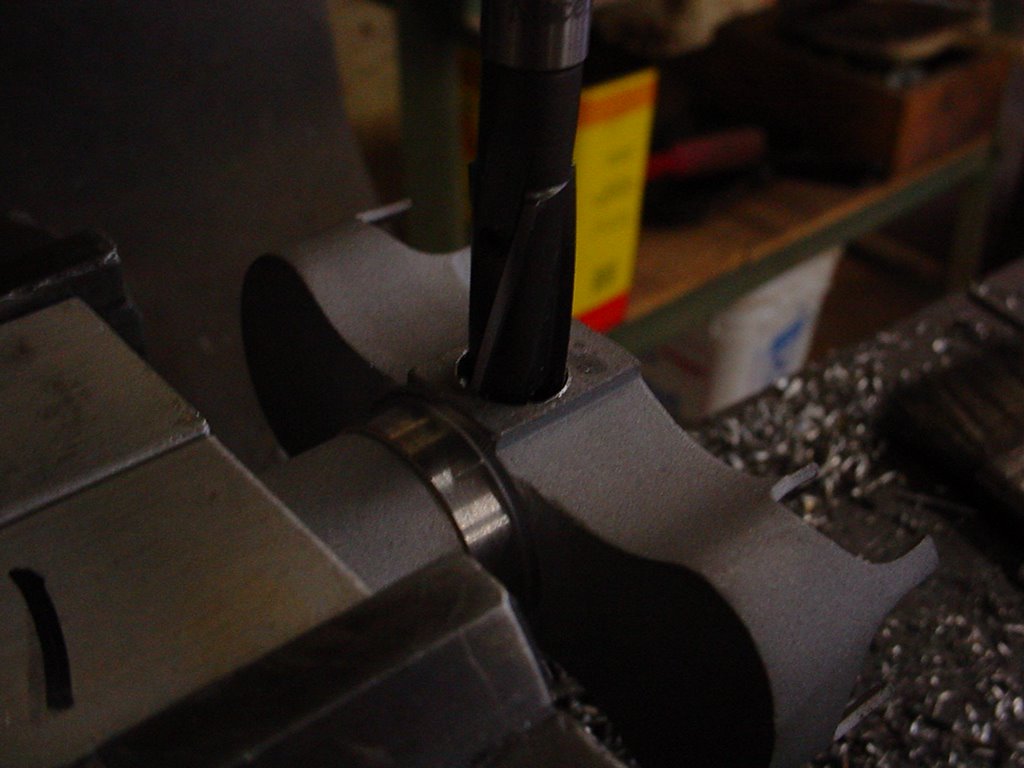
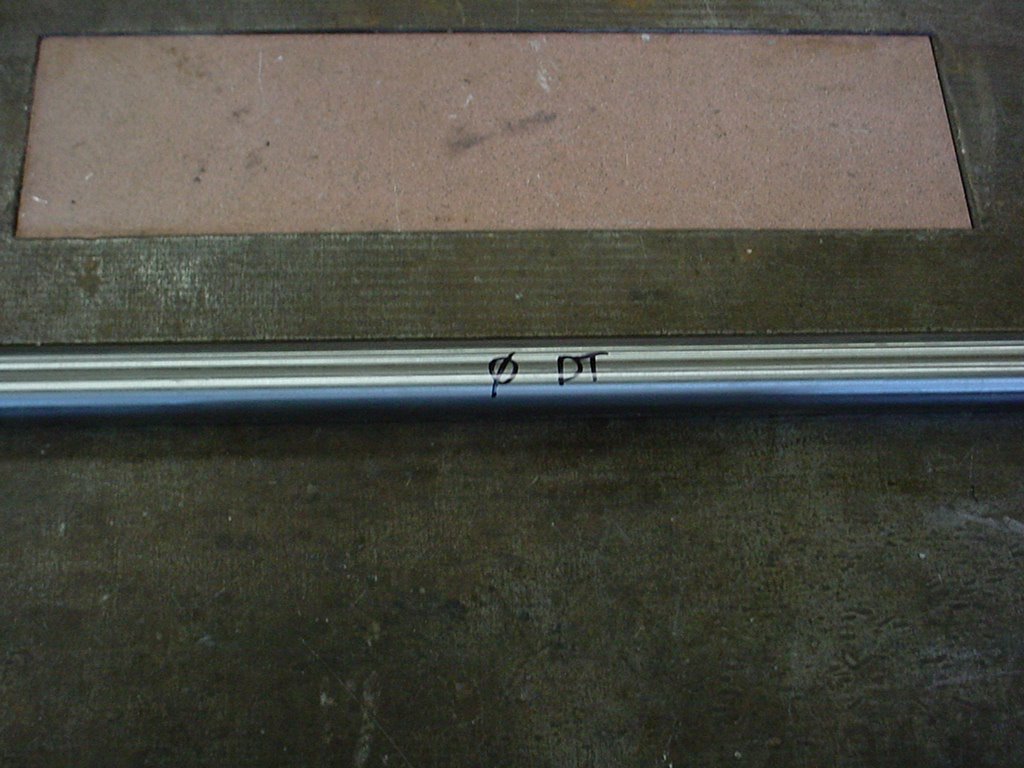
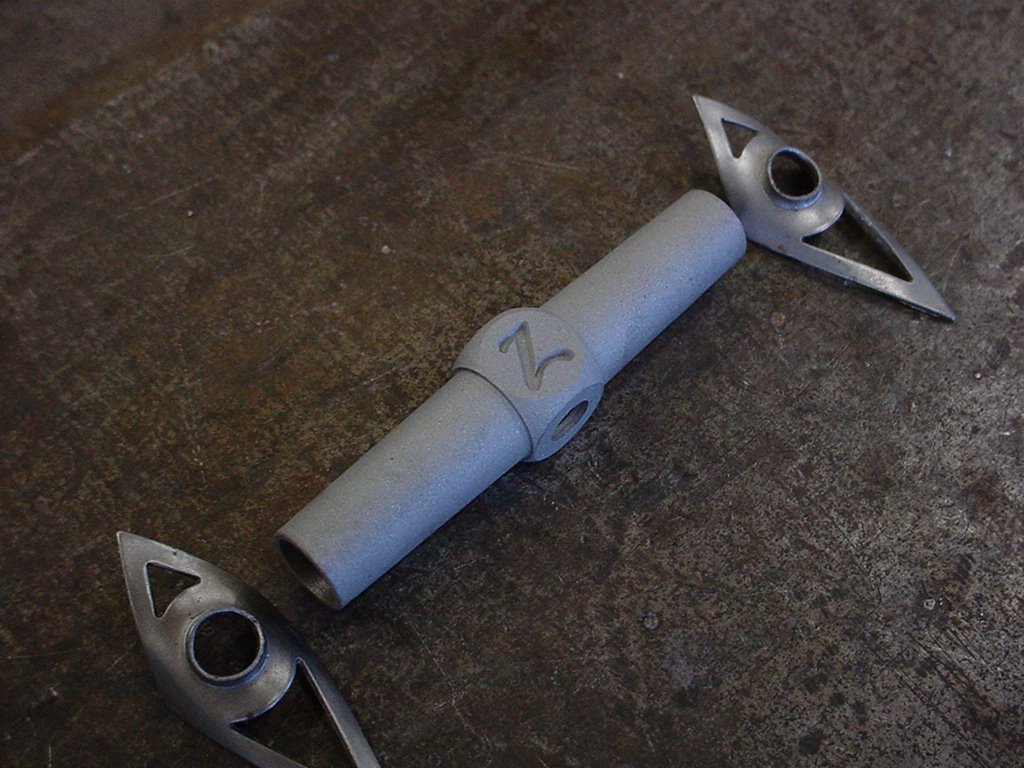
A 5/16" drill is used on the back of the crown for the brake nut. I then use a 7/16" counterbore to sink the brake nut into the crown. The counterbore is pictured below.


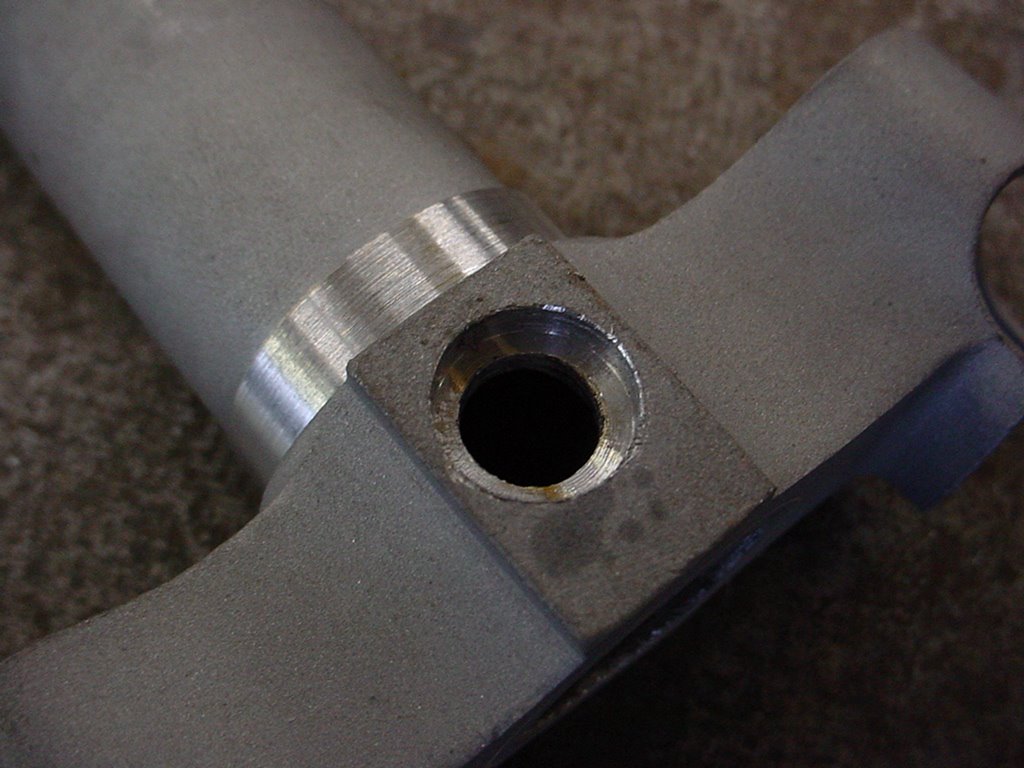
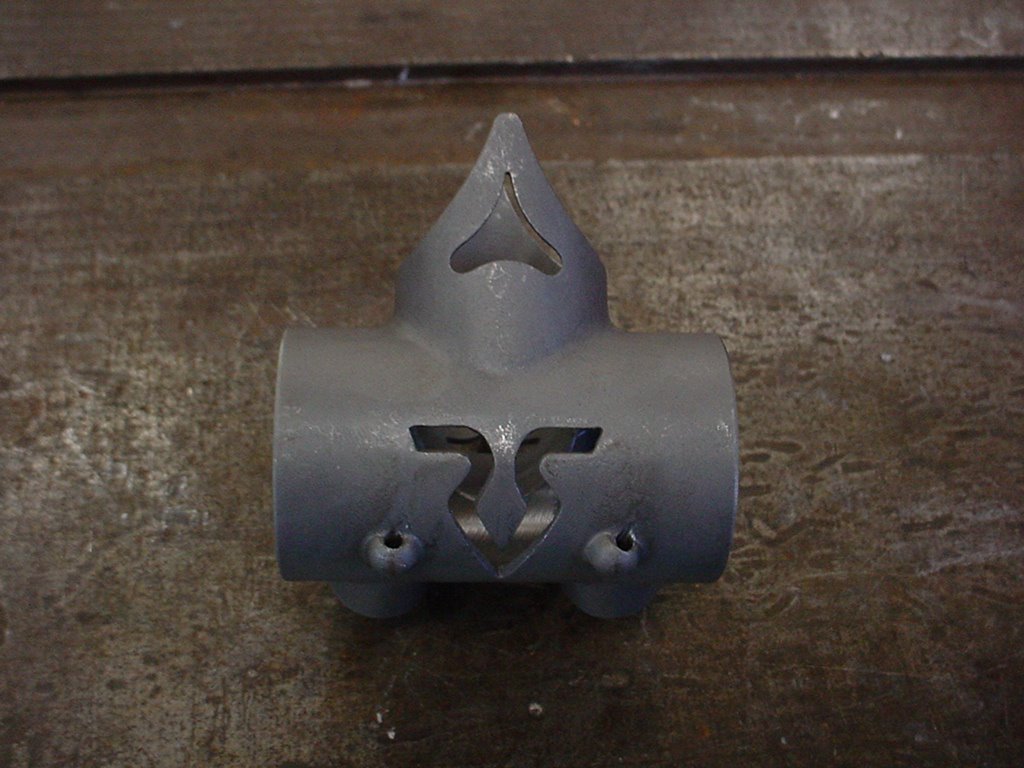
Here are the results. 1/4" hole on the front of the crown and a 5/16" hole with a 7/16" counterbore on the backside. The counterbore is an often overlooked step, but I think it lends to the clean look. You can also see in the bottom picture that I have turned the crown race to 1.043". Perfect for a Chris King crown race.


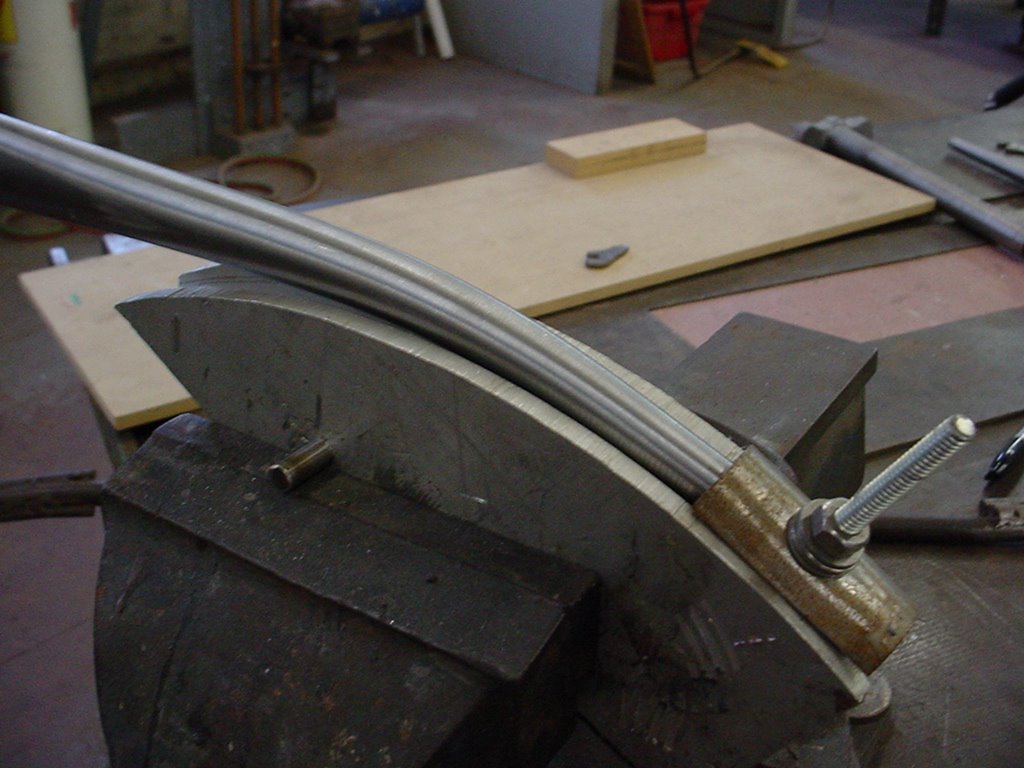
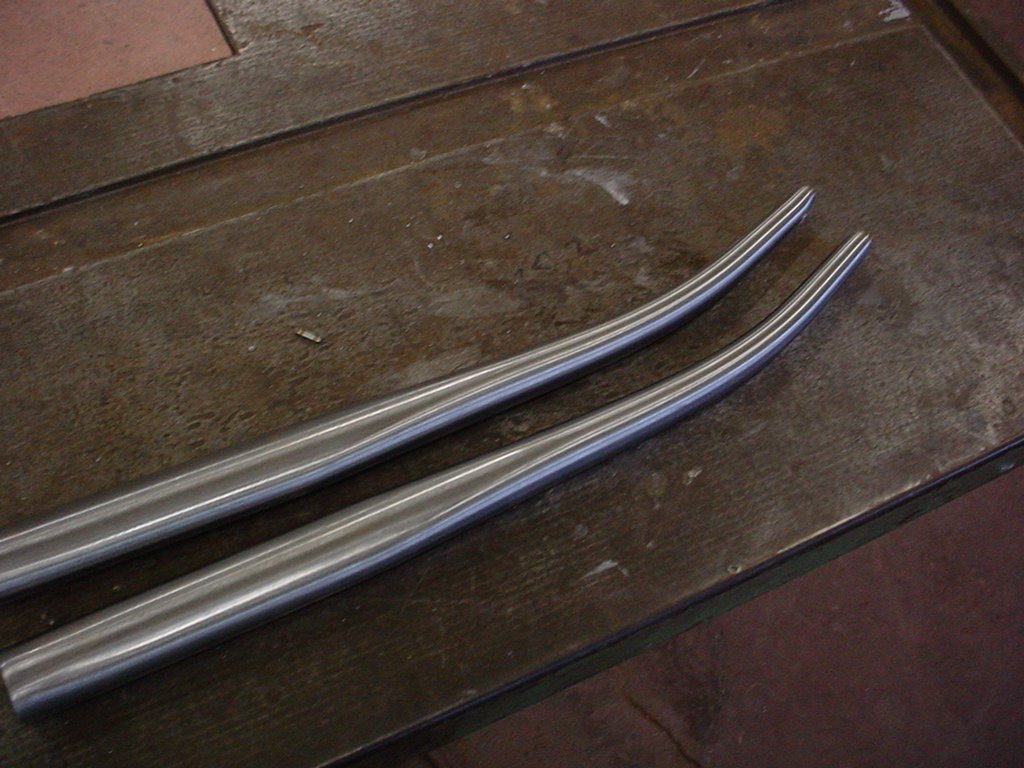
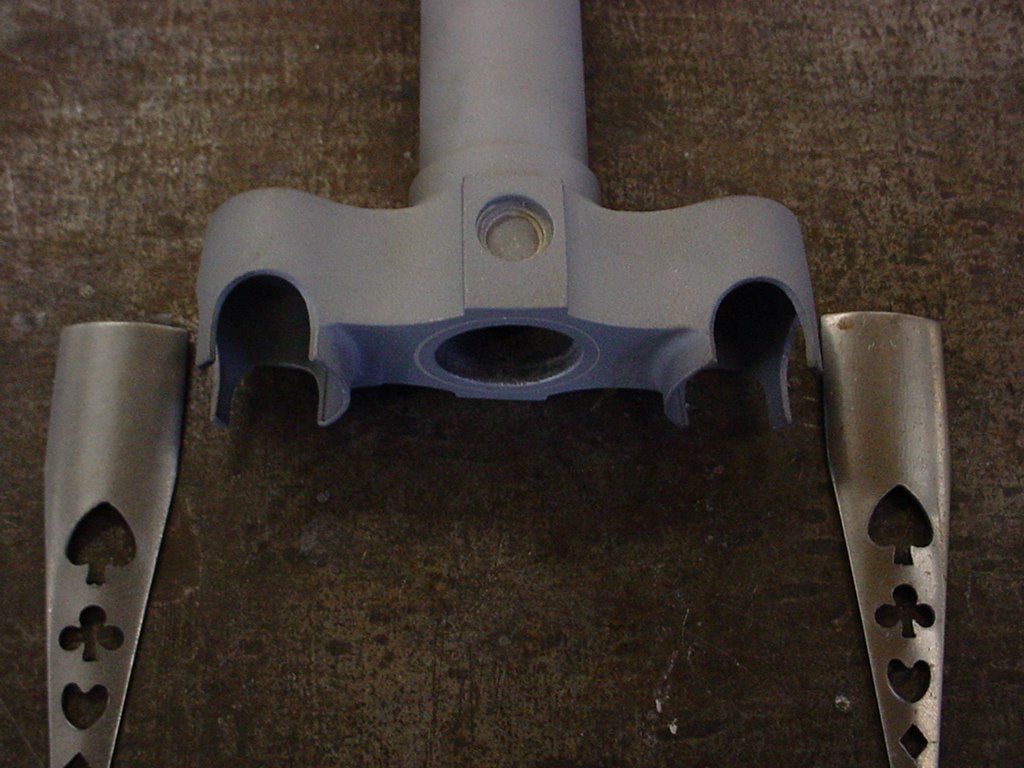
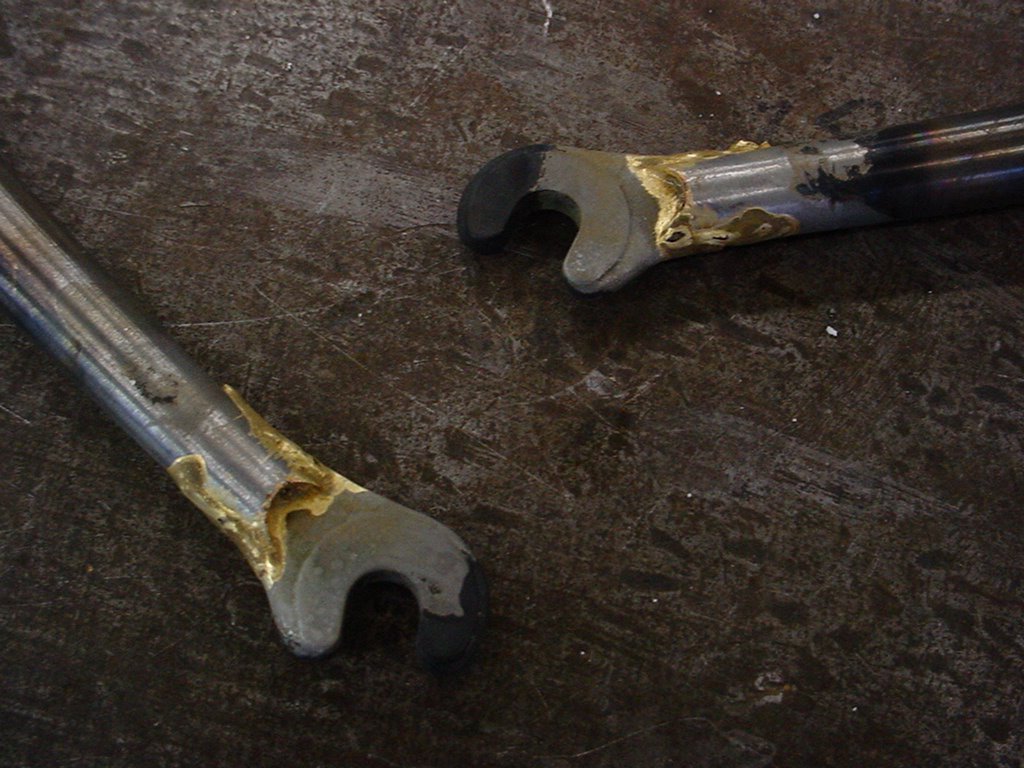
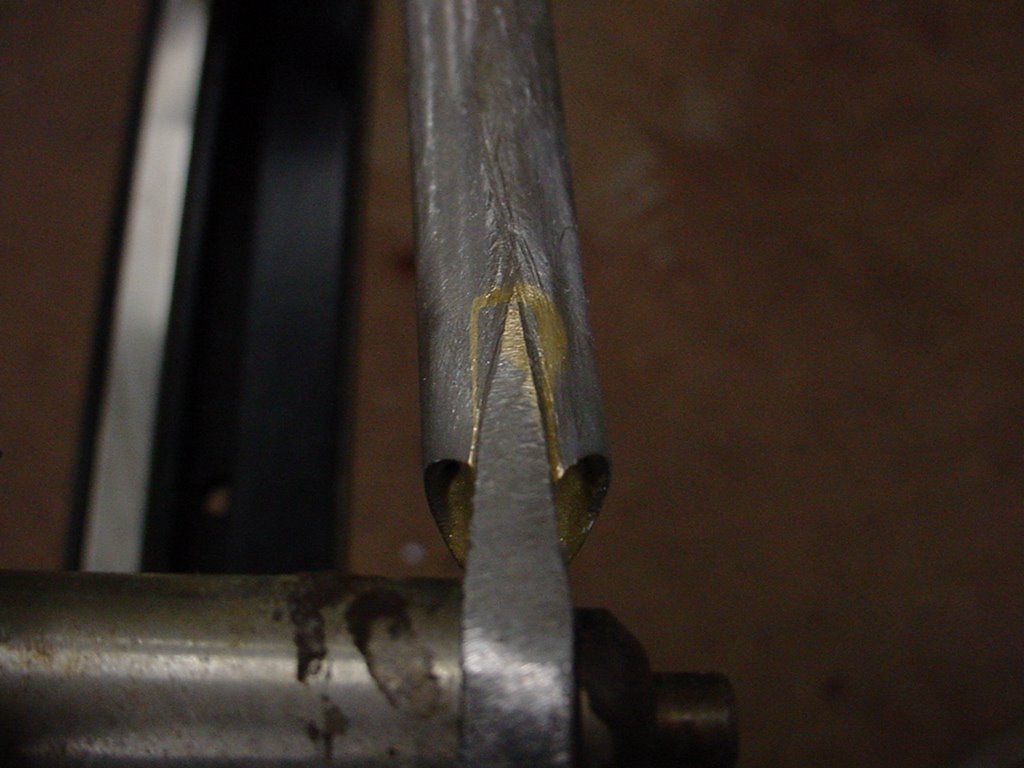
Up next, bending the blades and preparing the tips for dropouts.
Lastly, here is the steel.

Seat Tube: Deda Zero 28.6 mm 0.8/0.45/0.65


Top Tube: Deda Zero 28.6 mm 0.65/0.4/0.65


Down Tube : Deda Zero 31.7 mm 0.65/0.45/0.56


Chain Stays : Deda Zero 30x17 mm oval 0.7/0.45


Seat Stays - Tange Prestige Conico 10/14 mm 0.6


I'll post the fork blades as I get started on the fork.

Tuesday, February 14, 2006

In keeping with the Richie-Issimo theme, here is the ST lug and crown. I have already brazed the steerer into the crown and finish-filed where the steerer passes through the bottom. Also shown is Richard's new FD braze-on, which looks sweet indeed.


Front and rear dropouts. These will be trimmed down and cleaned up quite a bit.


Bottle bosses with reinforcements.


Next up will be the tubing...

Monday, February 13, 2006

Let's get this party started

So, we begin with MP's 50.2 cm road frameset. Below is a picture of the tubes and the castings that will be used. Top left, you can see the tubing that will be used. All Deda Zero, except for the fork blades and seat stays, which are Prestige. Bottom left are the dropouts. Verticals for this race bike, please. Center stage is the crown with the steerer brazed in. Bottom right are all of the lugs, the BB shell, seat stay bridge and other small braze-ons.


Here is the BB shell. This is a Richie-Issimo shell from Richard Sachs. Cast-in cable guides, super good looks...how can you go wrong?


Top tube and down tube lugs are pictured below. Also Richie-Issimo. Great styling, excellant design. Just perfect.


Here is the seat stay bridge and reinforcements. I am particularly proud of this piece, as I think the Z looks really sharp.


More soon...

Wednesday, February 08, 2006

Lots of cool stuff going on


So many fun projects....so little time.

I am putting together two fabrication pictorials. I have always wanted to put together a set of photos that show the entire build process for a frame and fork. I am psyched to do this with two different style bikes and two different fabrication techniques.

The first is MP's road bike. This will be a 50.2 cm lugged, road frameset built with castings from Richard Sachs. Richard's line of lugs, BB shells and fork crowns are the best in terms of function and style. Tube spec for MP's road racer is Deda Zero. High performance all the way. You can see the pictures of the raw materials and the fork build here...

http://pg.photos.yahoo.com/ph/mnzank/album?.dir=19e9&.src=ph&store=&prodid=&.done=http%3a//pg.photos.yahoo.com/ph/mnzank/my_photos

http://pg.photos.yahoo.com/ph/mnzank/album?.dir=b943&.src=ph&store=&prodid=&.done=http%3a//pg.photos.yahoo.com/ph/mnzank/my_photos

After MP's frame and fork are complete, I will begin work on WS's frameset. This will be a 63.5 cm fillet-brazed, cyclocross frameset built with Columbus OOS (over-oversize) tubing provided by Pacenti Cycle Design. While the main frame joints will be fillet-brazed, I will be using a cast BB shell from PCD with 1 3/8" and 1 1/4" ports for the DT and ST, respectively. I think the cast BB shell yields the stiffest drivetrain possible, which will be important for this big, strong fella.

I am really excited about the pictorials. Please send some comments and/or questions!